Is it art?
Is it art?
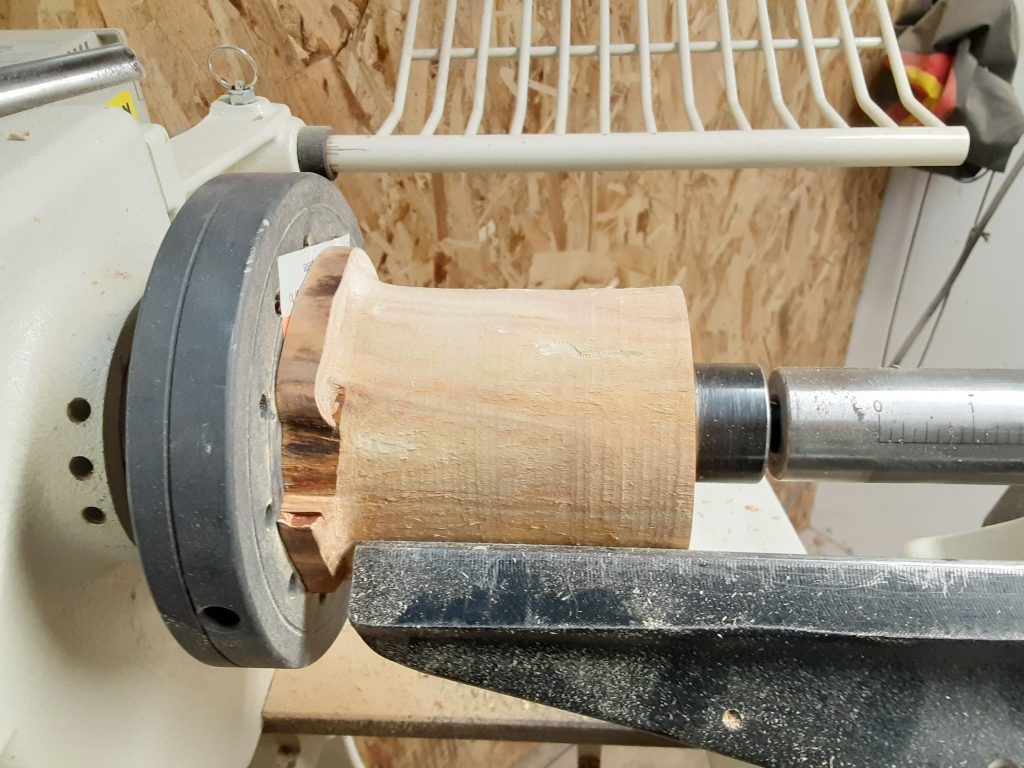
Used to be a candle holder piece of worm-eaten log good enough to practice some wood turning.
This might turn out to be a little wooden cup. I was trying to get in deep with just a spindle gouge and a scraper.

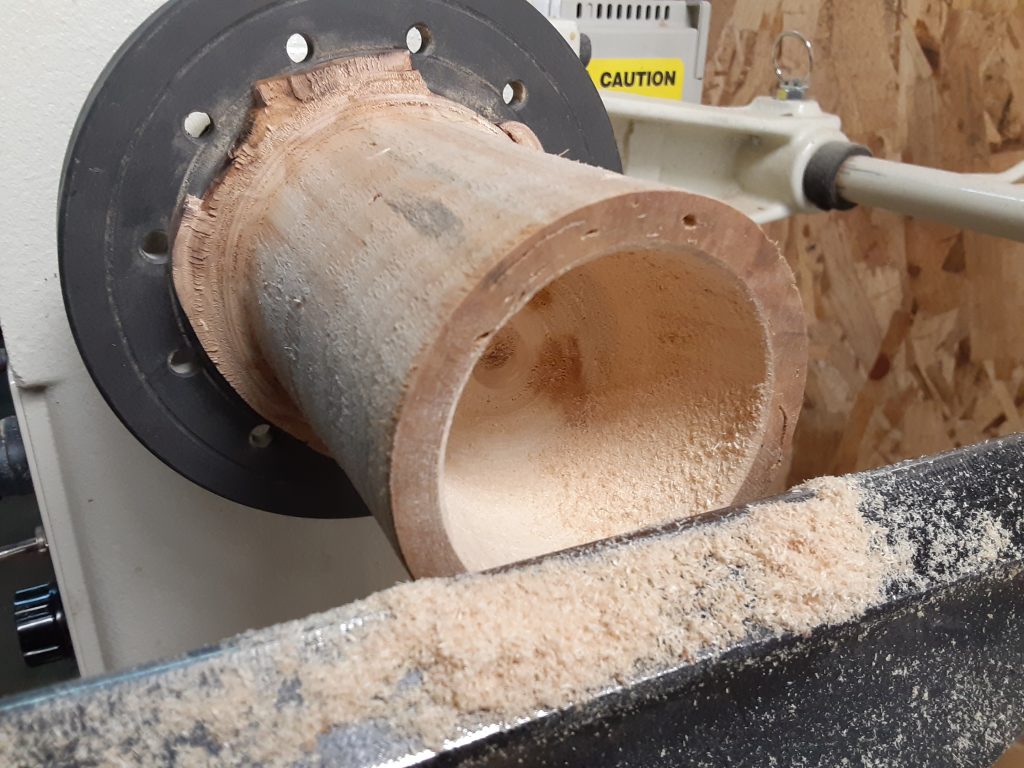
The trick was to get a wall thickness of about 2mm. I felt along the inside of the cup to get an idea of just how far I might be able to cut without going through the wall.
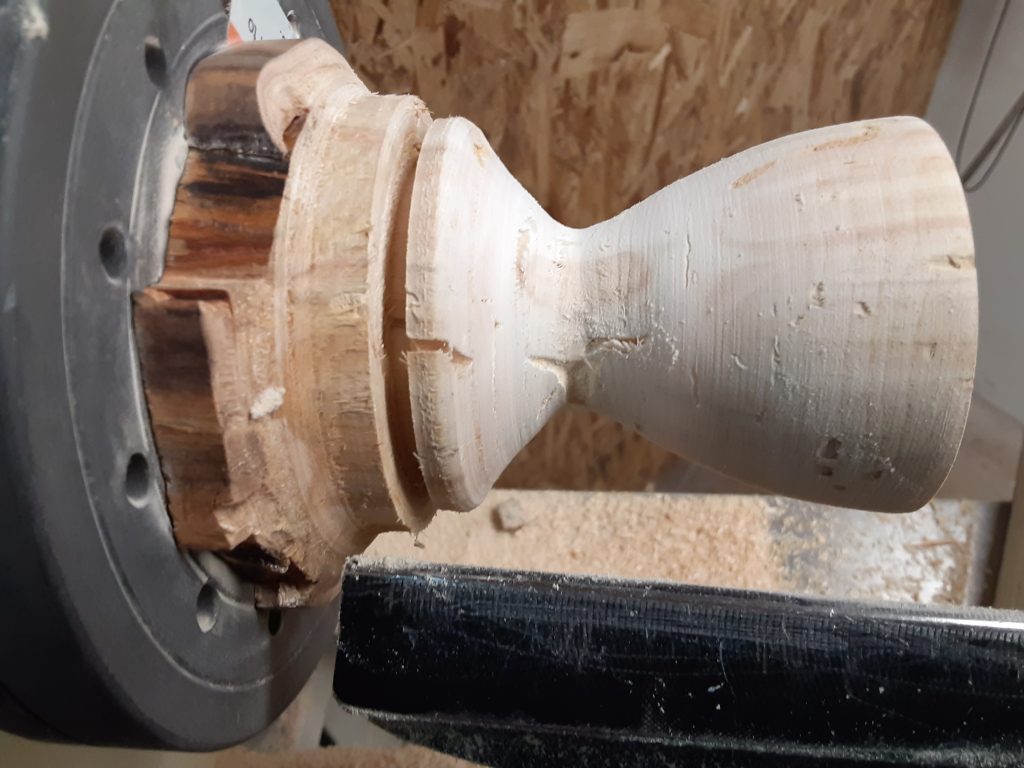
The shape is complete and maybe a little sanding before the base is released from the the “holy log”

Oh, sure there are the worm holes in the thing, but it has character! As someone once said: “Seen from up close, many aspects of nature, humans and evolution are in fact chaotic, superfluous and often “adjusted” by strokes of luck. But this, paradoxically, is great news. We tend to think that the imperfections that fill the biological world are only a side effect, a cost to be borne in order to achieve a higher goal. On the other hand, they have a positive value and contain masses of creativity, which is the driver of evolution itself.”
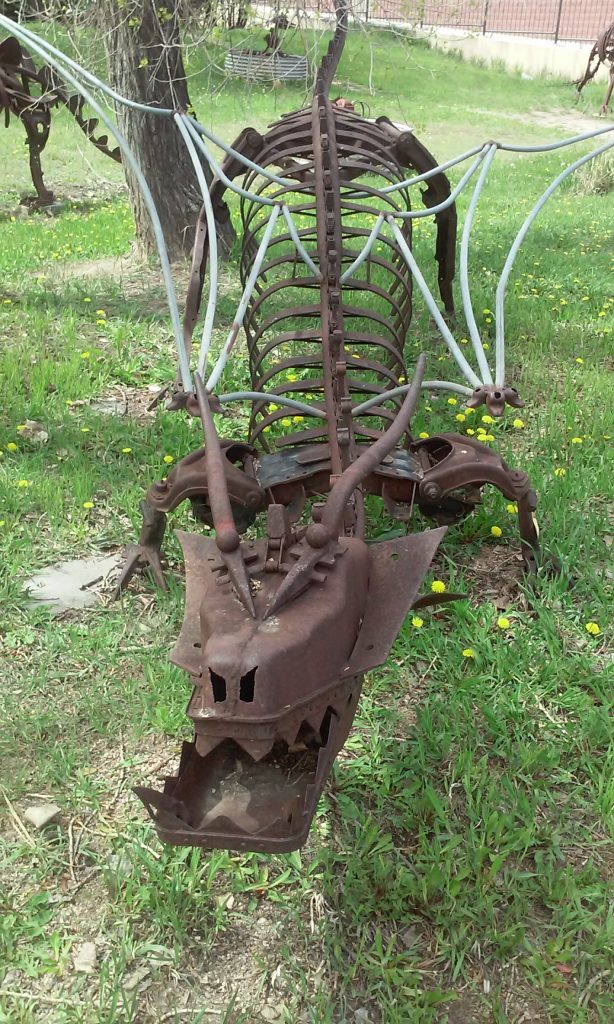
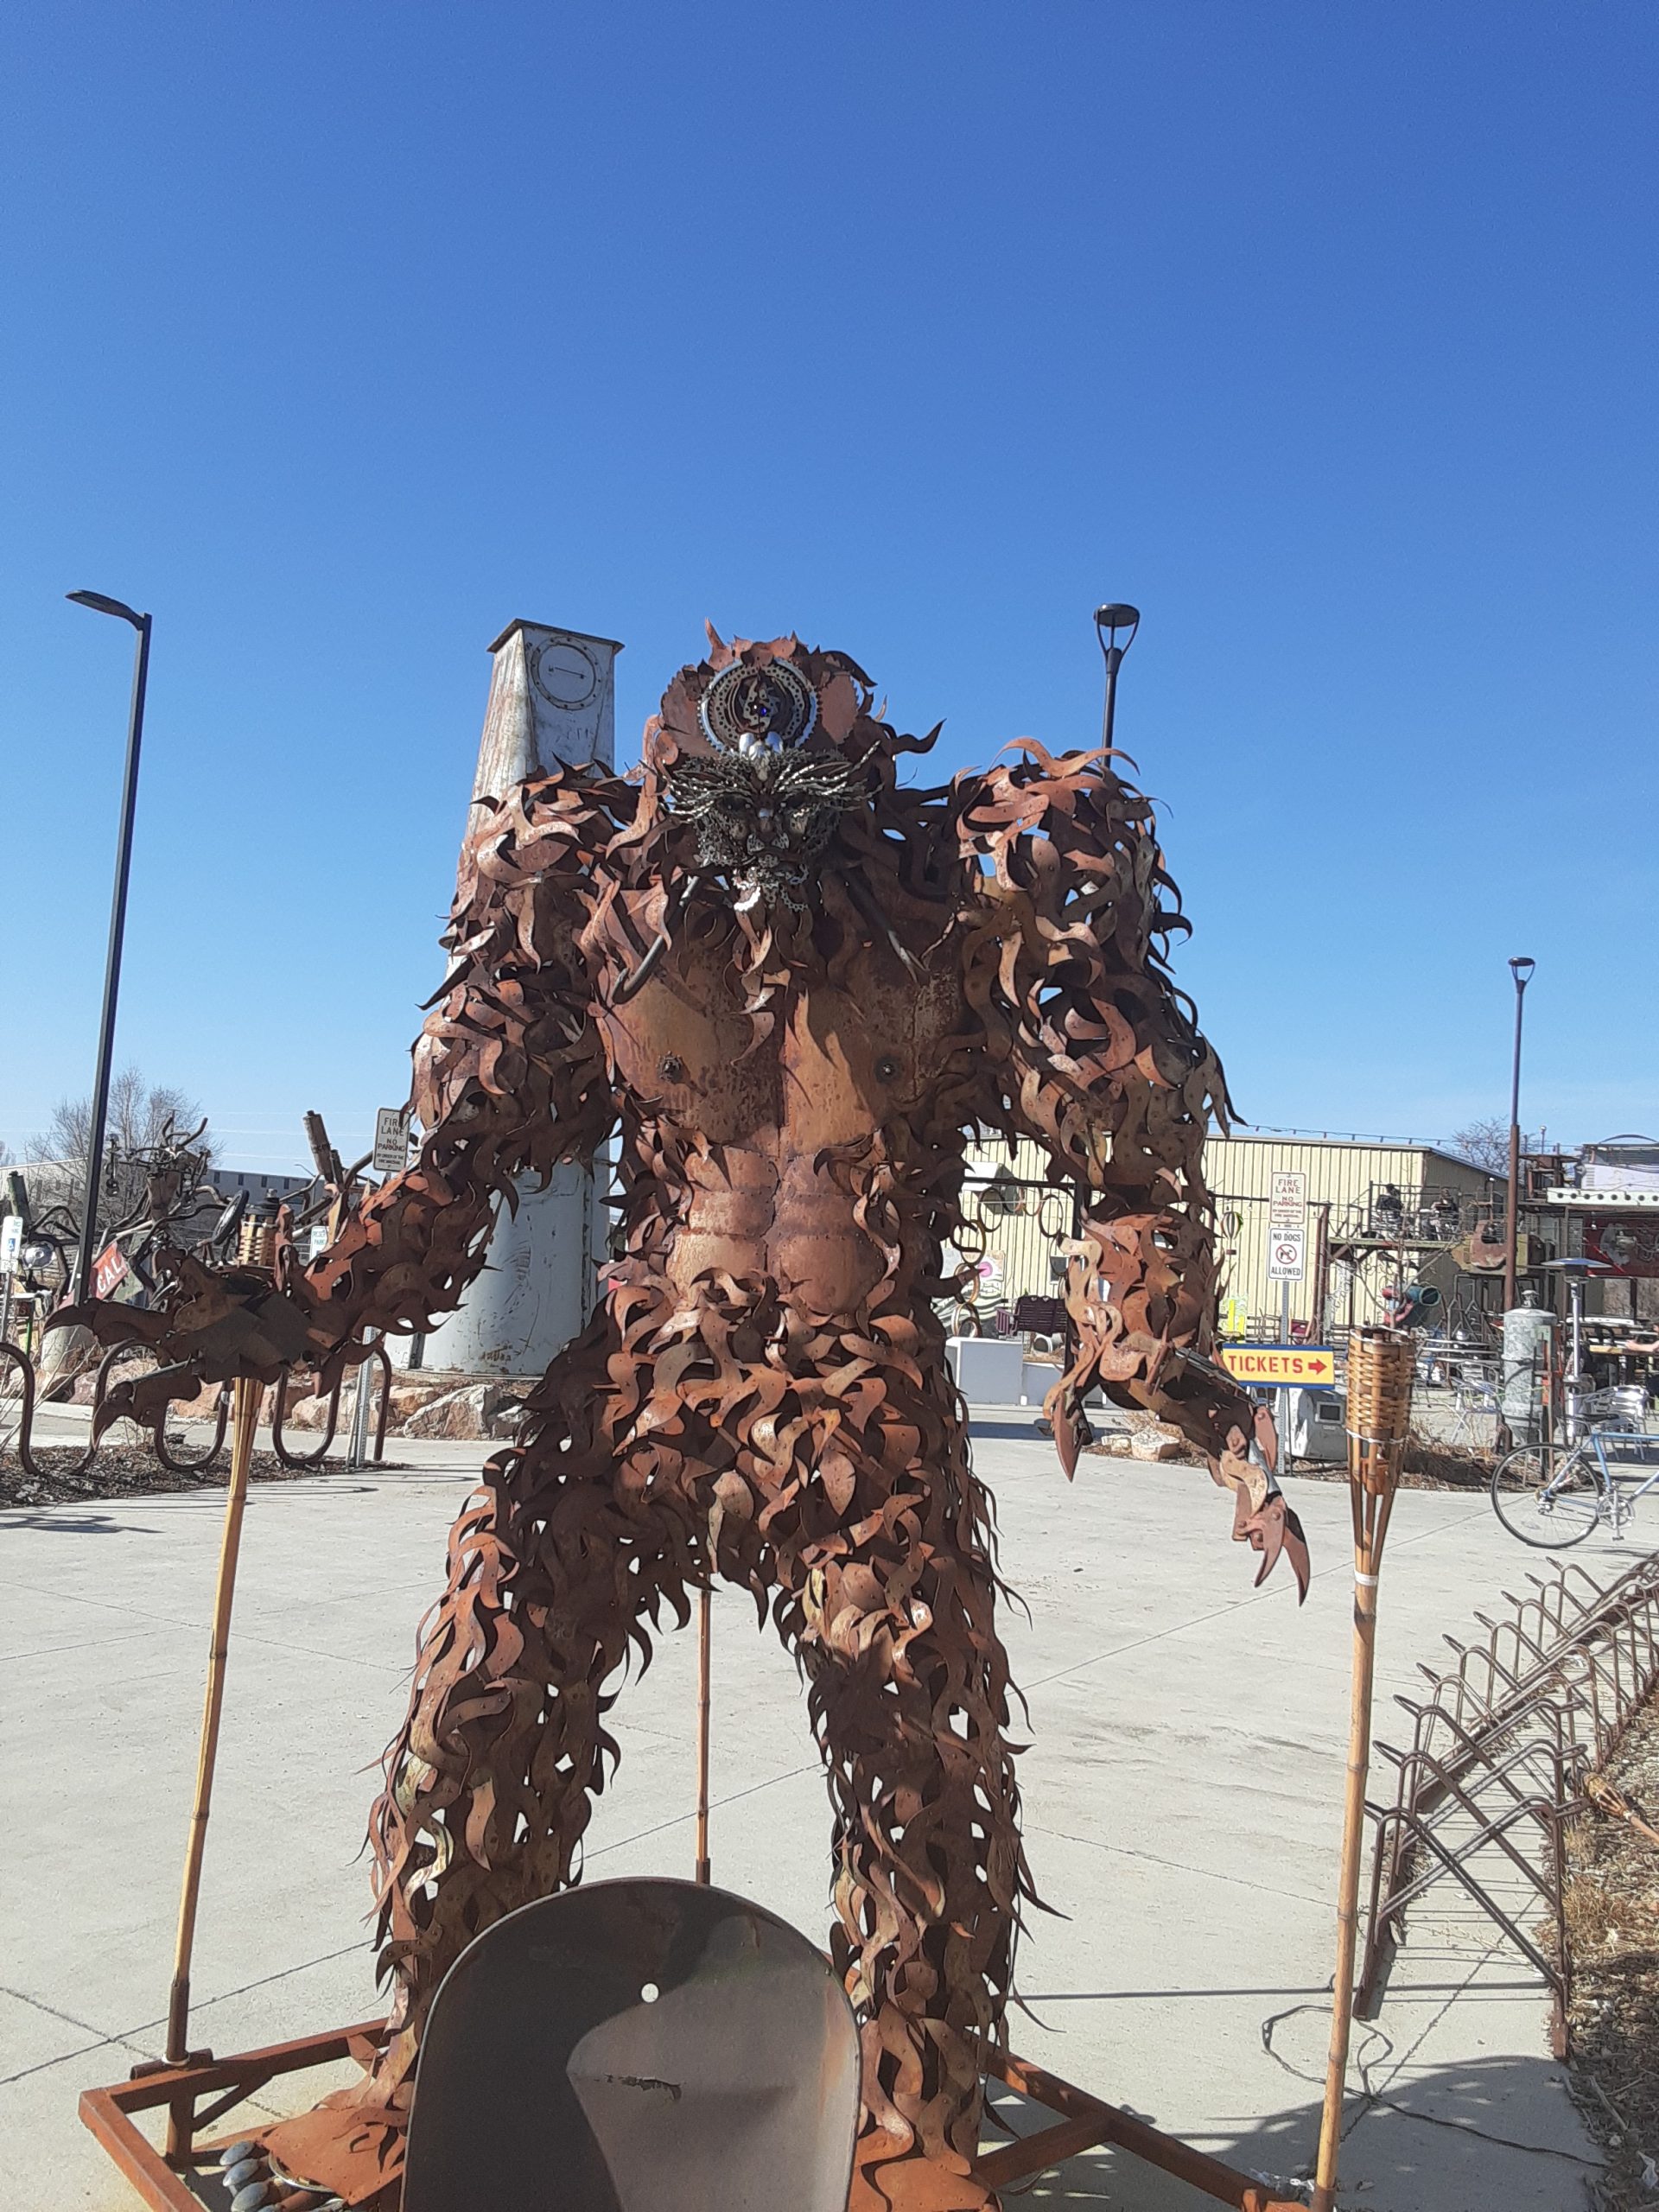
A short roadtrip out to Swetsville to see what’s up. Yes, it’s still open during the pandemic.
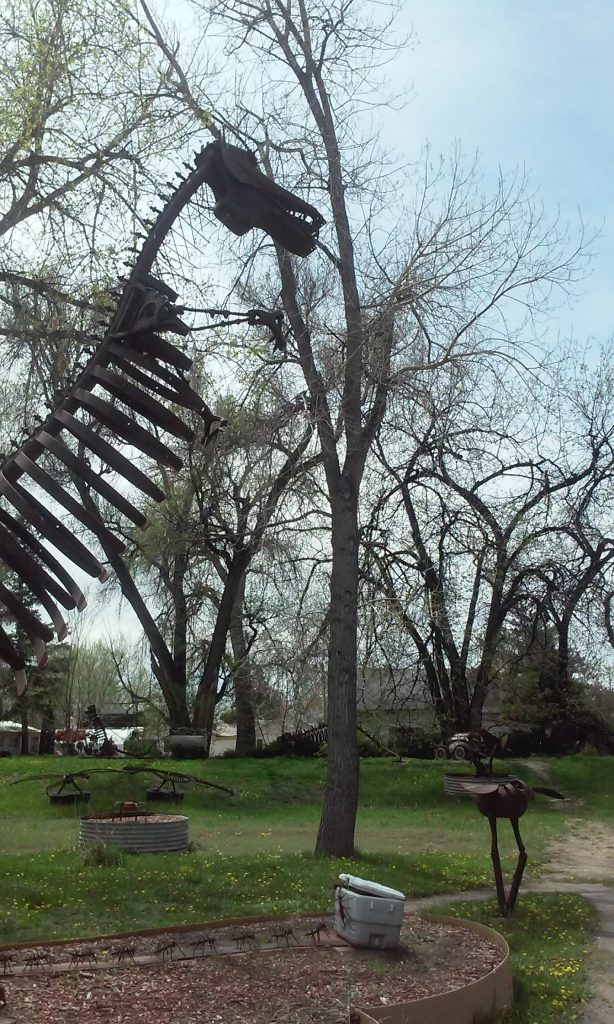
The new bike path is completed going into Timnath and past the ‘zoo’ and you could actually sneak in under the Harmony bride as long as the river is not too high.
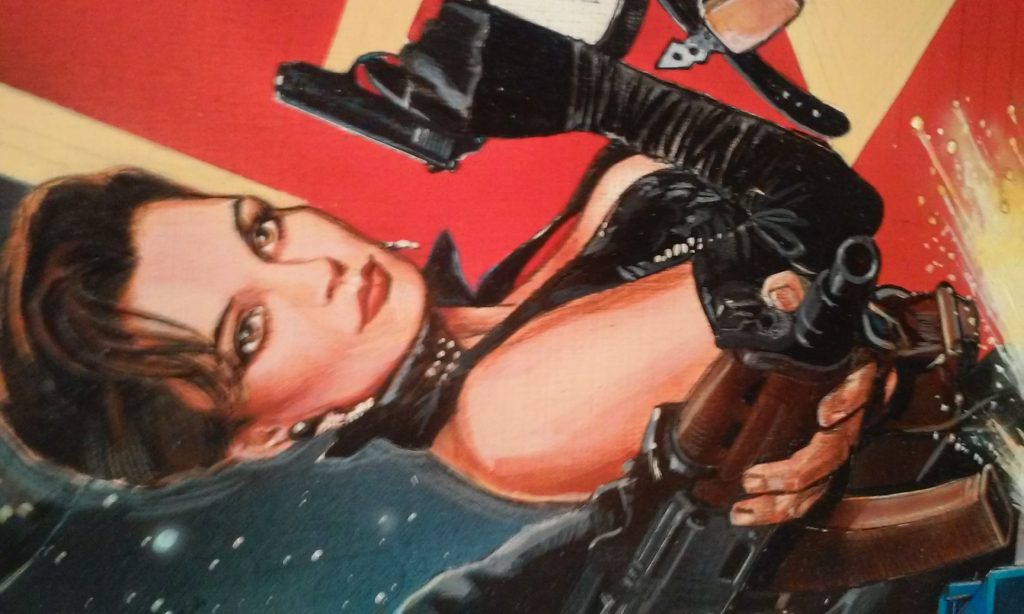
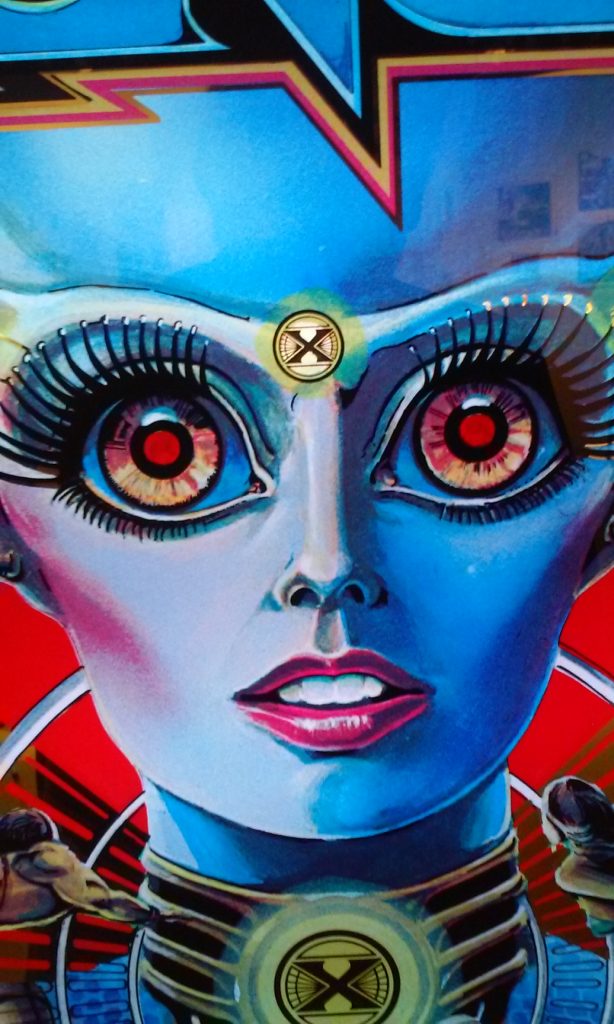
A selection of his popular pinball games—including Evel Knievel, Lost World, Frankenstein, Centaur, and Phantom of the Opera were on display at our local events center.
Paul worked in the Chicago area where the big name pinball companies were located. He has now moved to Fort Collins! Good move.
We’ve been hitting BEER AND BRONZE for some little statues:
 Some examples at the brewery
So there’s this guy I know named Johann Perez who gets his guests mingling and playing with clay. After the party is over, Johann takes each little creation and turns them into pieces of bronze! What a great idea!
It started with Dave, the guy holding the mallets
 Green vinyl coat

Then Yellow and Red on a black background

Cut on the vinyl cutter at the Fort Collins Creator Hub
At Bohemian Nights New West Fest:
 Image copied from a “Commie Robot Poster”
Yet another poster with some kind of catch phrase indicating that one could make it at the Creator Hub. What it is is not important, but a killer robot would be kinda cool.

Another poster but without a Commie Robot
This may have been lifted from an old welding manual. It may be transferred to a shirt some day. It has a good look to it.

People at the HUB booth at NewWestFest
This two day booth experience has not quite sunk in yet. Maybe more members will join after the Mini Maker Faire mid-October?
One of our newer pieces of equipment at the Fort Collins Creator Hub is a Vinyl Cutter. It’s like a big computer controlled plotter except instead using a pen to draw a picture there is a sharp knife blade that can cut paper or vinyl designs. Mostly these cutters are used for making signs directly from the vinyl material but in this case I’m using a vinyl cut design as a stencil for a DIY silk screen project.
 Screen and weeded design
I made a small 9×7 inch screen from an old picture frame and some sheer curtain material that I purchased from the local Goodwill store. Total cost was $2.37 with senior discount. The design as shown was cut as a mirror image because the stencil is going to be attached to the outside of the screen or the part of the screen that will be in contact with the fabric. The vinyl was weeded out (i.e., the sections of vinyl that the ink would pass through was carefully removed) and the minor adhesive backing was applied.
 The vinyl lift
Here the vinyl is pulled from the backing material so that the fresh (or tacky) side of the vinyl is exposed. At this point it is ready to be set onto the stretched silkscreen.
 The stencil is now attached to the screen
With the picture frame face down on a clean table, make sure all parts of the vinyl adheres to the silk by rubbing your fingers over the silk with slight pressure. Be sure to concentrate on the smaller non-connected pieces in the letters like O, A, and R.
 Remove the tape material
Wait, didn’t we do that?Well no. When the original vinyl material was cut, it consisted of a vinyl sheet and backing material. Another sticky sheet (the “tape”) was applied to the top of the vinyl, and then the original backing material was removed. Now the tape is peeled off after the vinyl is attached to the screen.
 So far, so good.
Actually it’s not that simple. Cutting the vinyl is the easy part. Weeded out the vinyl can be time consuming while removing the backing and the tape can be a real pain in the ass. If the pieces of vinyl that you want to “keep” are small, they won’t adhere very well to either the backing or the tape or the “substrate” which in this case is the silkscreen. It’s best to relax and take your time pulling the tape or backing off real slowly when you come to one of those A’s or O’s or R’s I told you about. Don’t forget B’s, P’s and Q’s if you got ’em.
 We’re in luck. We have some fabric ink!
The folks at Speedball sold me this nice “Fabric Screenprinting Starter Set”. It’s water based ink so this might not be so bad as far as clean up is concerned. Just a little warm water should do it, right? Looks like I have some red, white, yellow, blue, green and black.
 Some basic alignment might help
I have some white masking tape to mask out the open screen parts that I don’t want ink to come through to the fabric. The vinyl is not square with the frame so I marked some lines on the tape to make it easy to set the screen in the correct position on the fabric. In this case, the fabric is going to be some really cheap shirts I bought from guess where. They were stretched out on a plywood surface and I used a piece of cardboard for a squeegee to smear the ink on the screen. Gonna use red ink…
 First one! Hey, it worked!
Some other shirts were used in horrendous experiments that were too awful to show, but I think I got it, so maybe some screen printed shirts in the future? Maybe?
 After the wash
Well, not perfect. Just a little dipping in a bucket of water to get the red out. The adhesive started to lift away from the screen! See that the O in FALLOUT is missing the hole. The ink may bleed out through the stencil but I’m going to try it again just to see how it comes out. Maybe next week if there’s time.
Yet another Special Interest Group: CIGAR BOX GUITARS
 Jim says “All you need is a stick and a cigar box”
 Oh, some other parts too, and a few tools would be handy
 2014 Annual Ride across Iowa known as the RAGBRAI
Cigar Box Links to get ya started:
Chicago CBG Festival – HERE
York PA CBG Festival – HERE
FLA CBG Festival – HERE
Floating bridge kit – HERE
Making a CBG using hardware store parts – HERE
Shamus easy method – HERE
At the Fort Collins Creator Hub
 Makers making glass objects
OK, I held a class at the HUB on making stained glass decorations and it was much fun. Not too many people showed up (just 6) but I’m sure I can get more to join in next time!