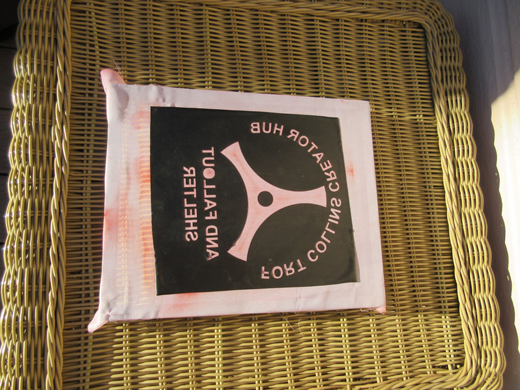
One of our newer pieces of equipment at the Fort Collins Creator Hub is a Vinyl Cutter. It’s like a big computer controlled plotter except instead using a pen to draw a picture there is a sharp knife blade that can cut paper or vinyl designs. Mostly these cutters are used for making signs directly from the vinyl material but in this case I’m using a vinyl cut design as a stencil for a DIY silk screen project.
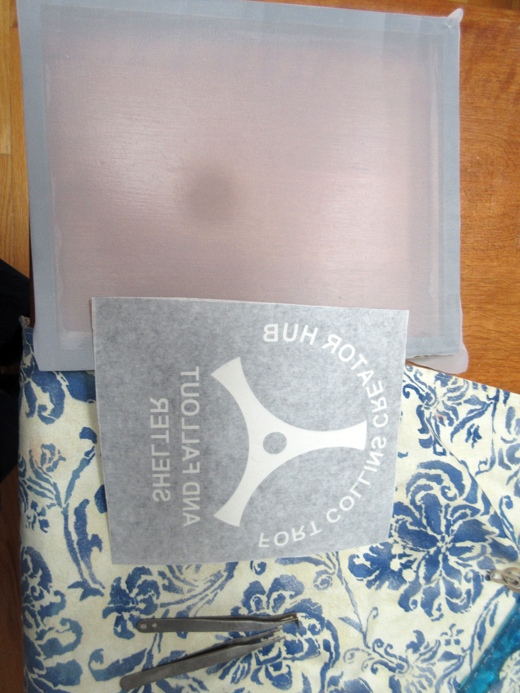
I made a small 9×7 inch screen from an old picture frame and some sheer curtain material that I purchased from the local Goodwill store. Total cost was $2.37 with senior discount. The design as shown was cut as a mirror image because the stencil is going to be attached to the outside of the screen or the part of the screen that will be in contact with the fabric. The vinyl was weeded out (i.e., the sections of vinyl that the ink would pass through was carefully removed) and the minor adhesive backing was applied.
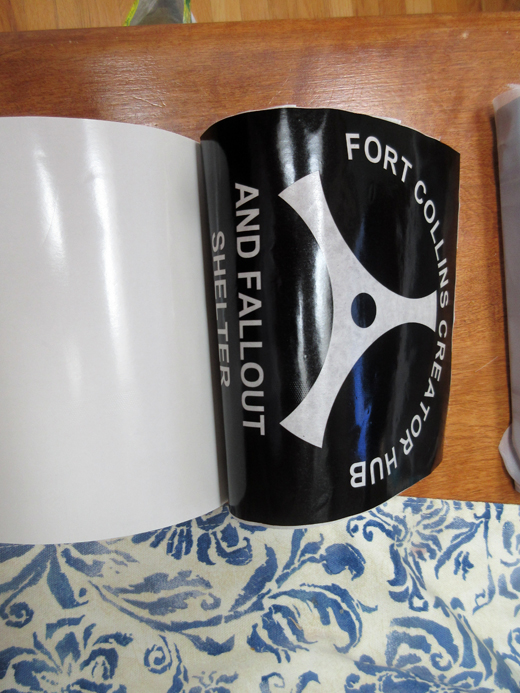
Here the vinyl is pulled from the backing material so that the fresh (or tacky) side of the vinyl is exposed. At this point it is ready to be set onto the stretched silkscreen.
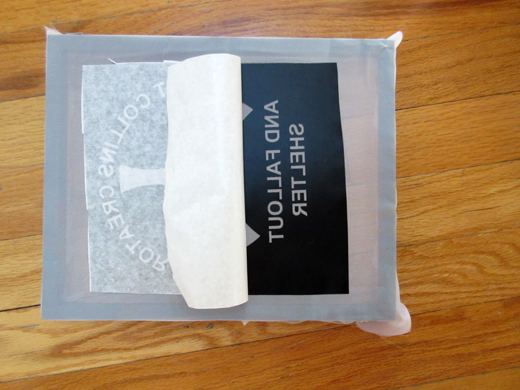
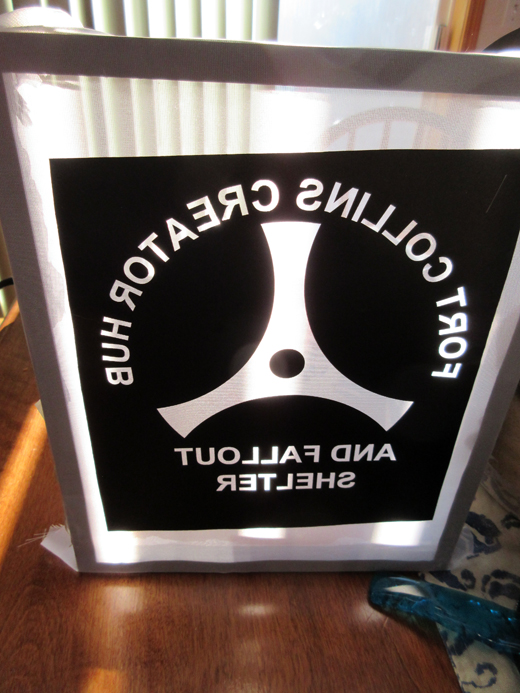
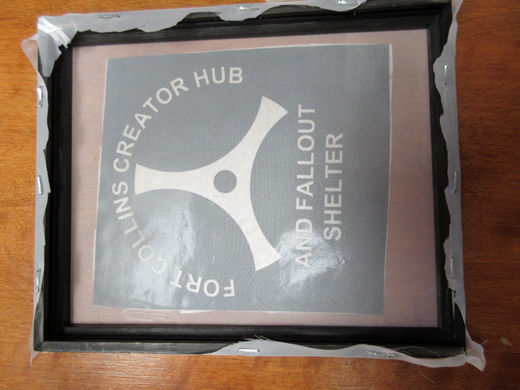 The stencil is now attached to the screen
With the picture frame face down on a clean table, make sure all parts of the vinyl adheres to the silk by rubbing your fingers over the silk with slight pressure. Be sure to concentrate on the smaller non-connected pieces in the letters like O, A, and R.
Wait, didn’t we do that?Well no. When the original vinyl material was cut, it consisted of a vinyl sheet and backing material. Another sticky sheet (the “tape”) was applied to the top of the vinyl, and then the original backing material was removed. Now the tape is peeled off after the vinyl is attached to the screen.
Actually it’s not that simple. Cutting the vinyl is the easy part. Weeded out the vinyl can be time consuming while removing the backing and the tape can be a real pain in the ass. If the pieces of vinyl that you want to “keep” are small, they won’t adhere very well to either the backing or the tape or the “substrate” which in this case is the silkscreen. It’s best to relax and take your time pulling the tape or backing off real slowly when you come to one of those A’s or O’s or R’s I told you about. Don’t forget B’s, P’s and Q’s if you got ’em.
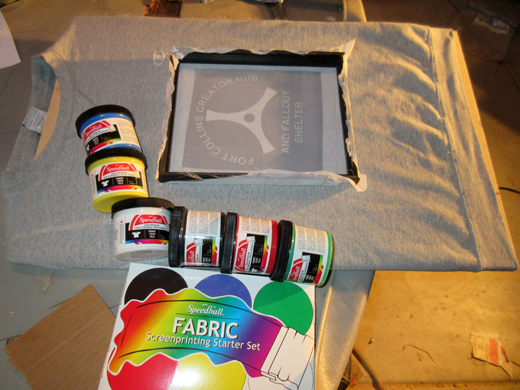 We’re in luck. We have some fabric ink!
The folks at Speedball sold me this nice “Fabric Screenprinting Starter Set”. It’s water based ink so this might not be so bad as far as clean up is concerned. Just a little warm water should do it, right? Looks like I have some red, white, yellow, blue, green and black.
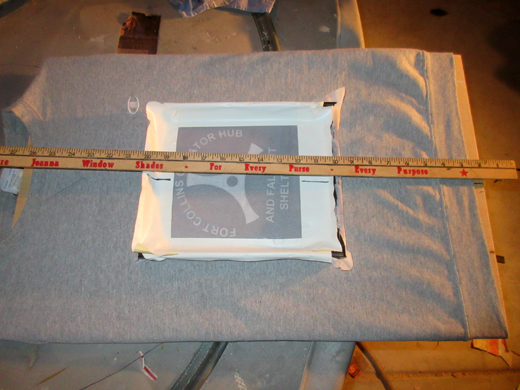 Some basic alignment might help
I have some white masking tape to mask out the open screen parts that I don’t want ink to come through to the fabric. The vinyl is not square with the frame so I marked some lines on the tape to make it easy to set the screen in the correct position on the fabric. In this case, the fabric is going to be some really cheap shirts I bought from guess where. They were stretched out on a plywood surface and I used a piece of cardboard for a squeegee to smear the ink on the screen. Gonna use red ink…
Some other shirts were used in horrendous experiments that were too awful to show, but I think I got it, so maybe some screen printed shirts in the future? Maybe?
Well, not perfect. Just a little dipping in a bucket of water to get the red out. The adhesive started to lift away from the screen! See that the O in FALLOUT is missing the hole. The ink may bleed out through the stencil but I’m going to try it again just to see how it comes out. Maybe next week if there’s time.
