It all started with an Oud:
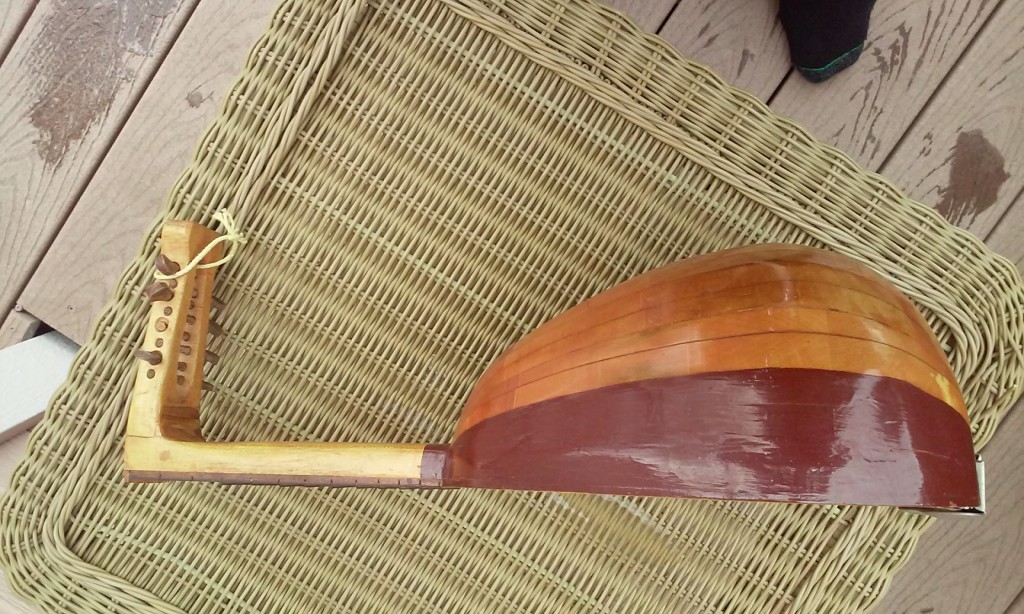
Strange little Oud
I made this instrument some 40 years ago just to see what it would be like to put together strips of wood to form a rounded shell resonator like that in an instrument of the Oud type. I generally only saw an Oud in pictures and didn’t have much to go on as the internet was not all that helpful at the time. As I recall, the method used to make this instrument was not very efficient and the instrument itself became a wall hanging decoration and not something I would normally play.
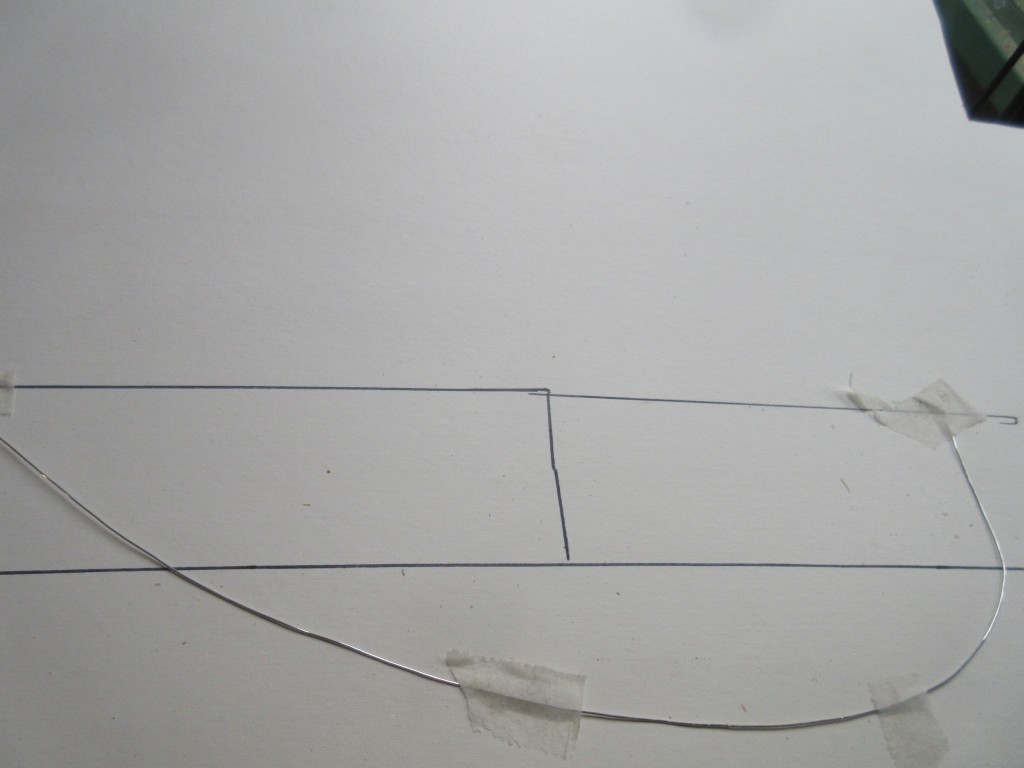
A plan, A shape, a piece of wire?
So, it looks like I’m going to bend strips of wood. What shape should it be and how much wood do I need? I dreamed up a shape that seemed consistent with Oud style backs and shaped a wire along the edge to get the minimum length required for the wood strips.
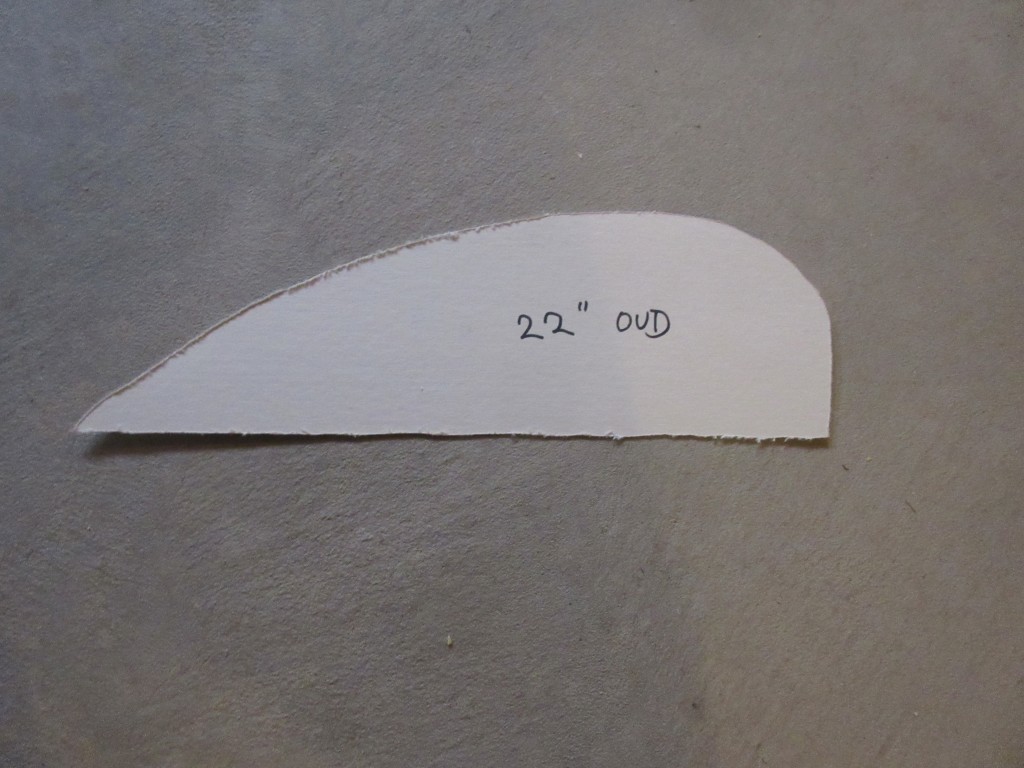
The master form!
The shape was cut out from a piece of stiff poster board. This would be the form used throughout the project and would be kept in a secure place so I wouldn’t lose it. It’s labeled 22” OUD in case I decide to make other sizes and shapes. The 22” refers to the minimum wood strip length required.
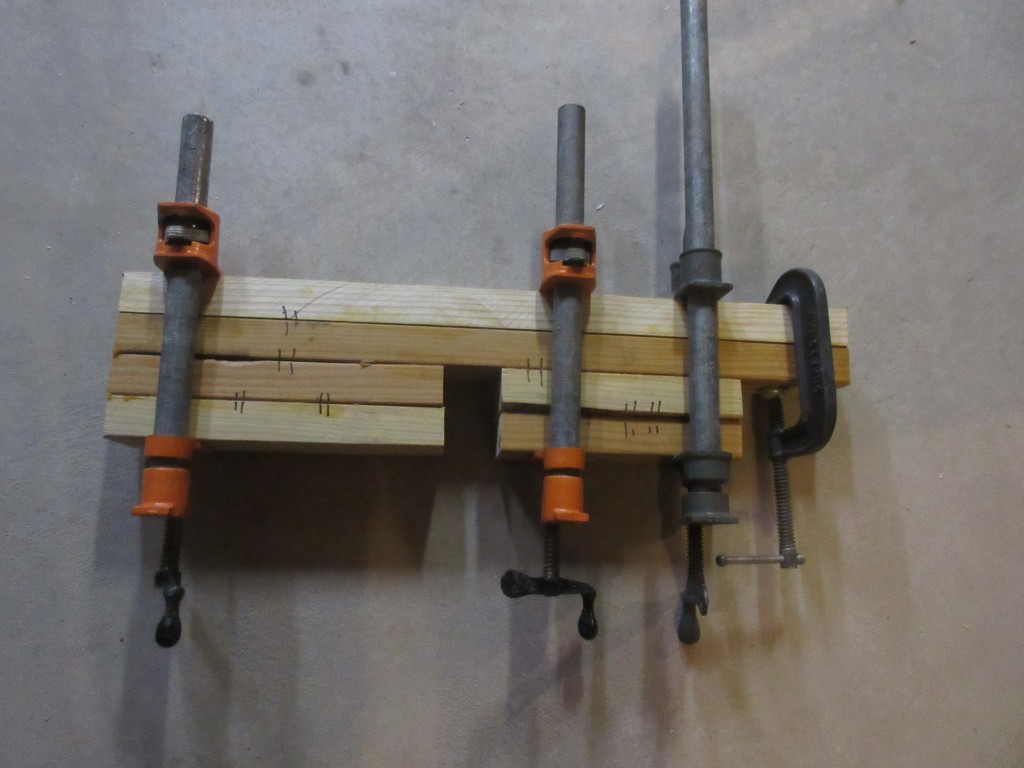
Shape press form
This is the method I use to instill a uniform shape to the wood strips or perhaps they are called “staves” at this point. Just some 2×4 wood glued together at this point.
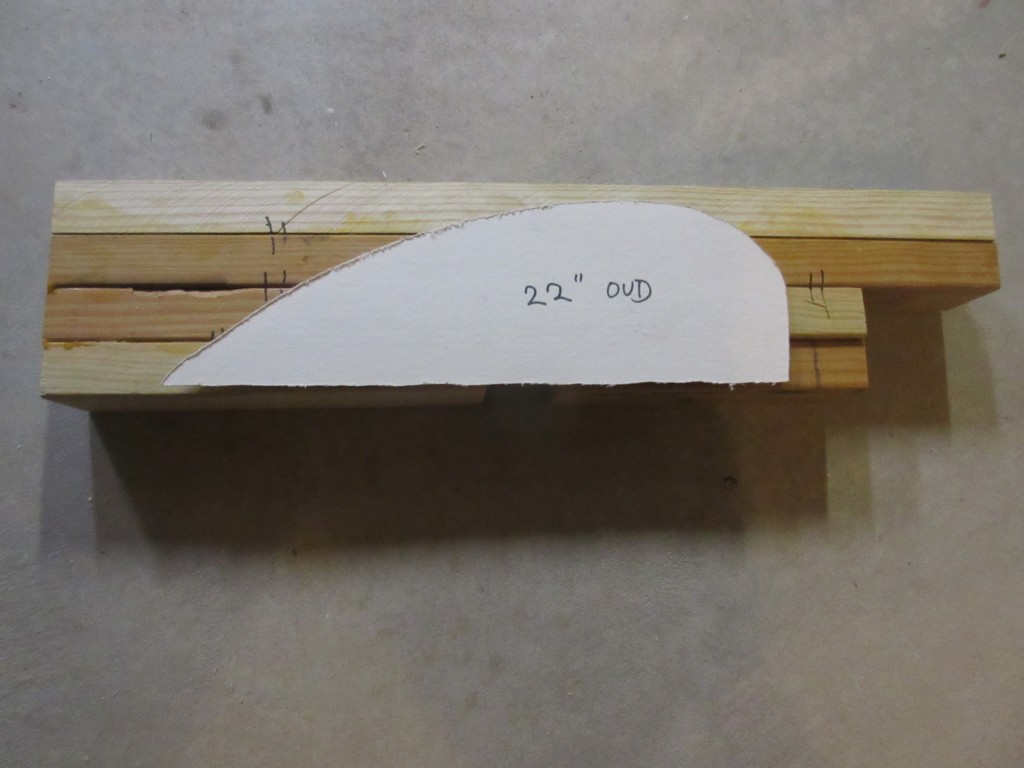
Paper Form and solid 3D form
Using the paper master form, the location of the stave cut is determined on the Shape Press Form. Some care should be taken to make sure the master form properly fits into the Shape Press Form.
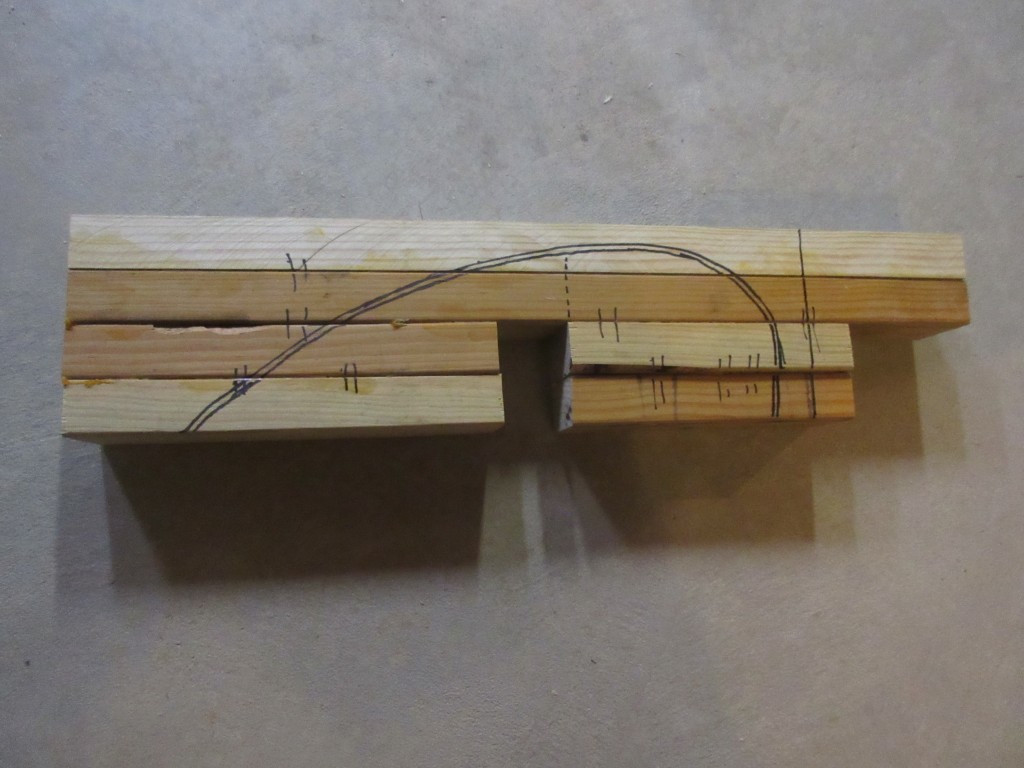
Oud pattern drawn onto the Shape Press Form
The lines are drawn from the pattern with an additional line about 3mm inside the original pattern to allow for the stave width. This pattern is then cut on a band saw.
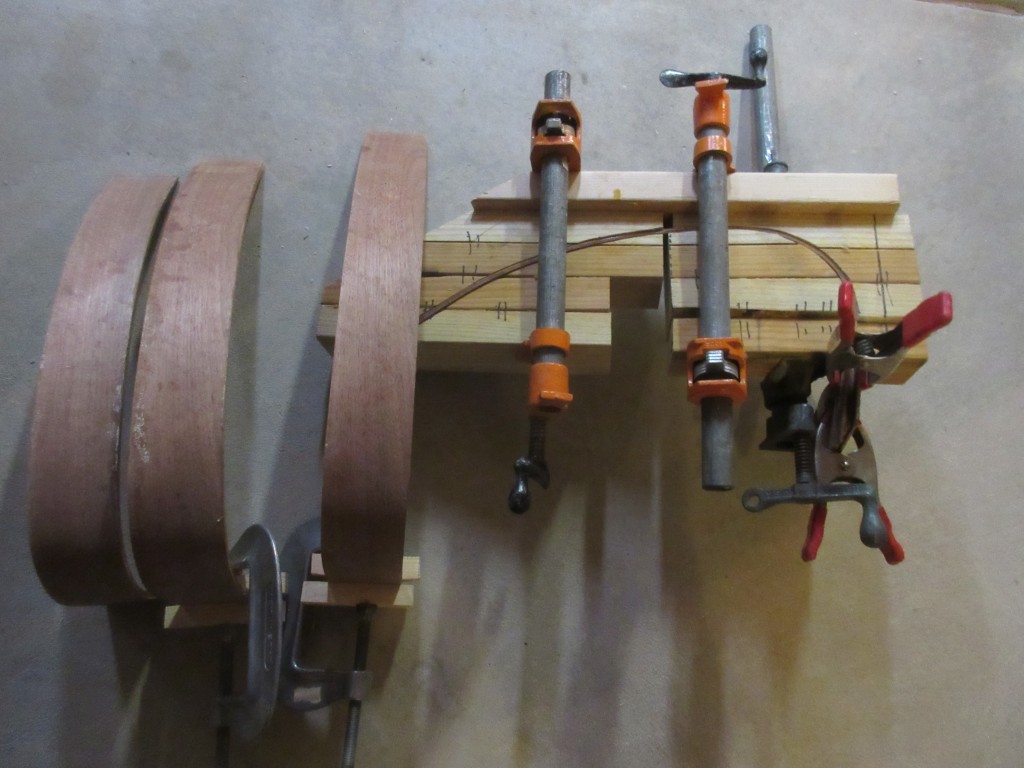
Pressed wood plus a few raw staves
The wood is pressed in the form for about 12 hours or more. The raw staves on the left need to be checked against the 22” OUD pattern to make sure the shape is close to the original design.
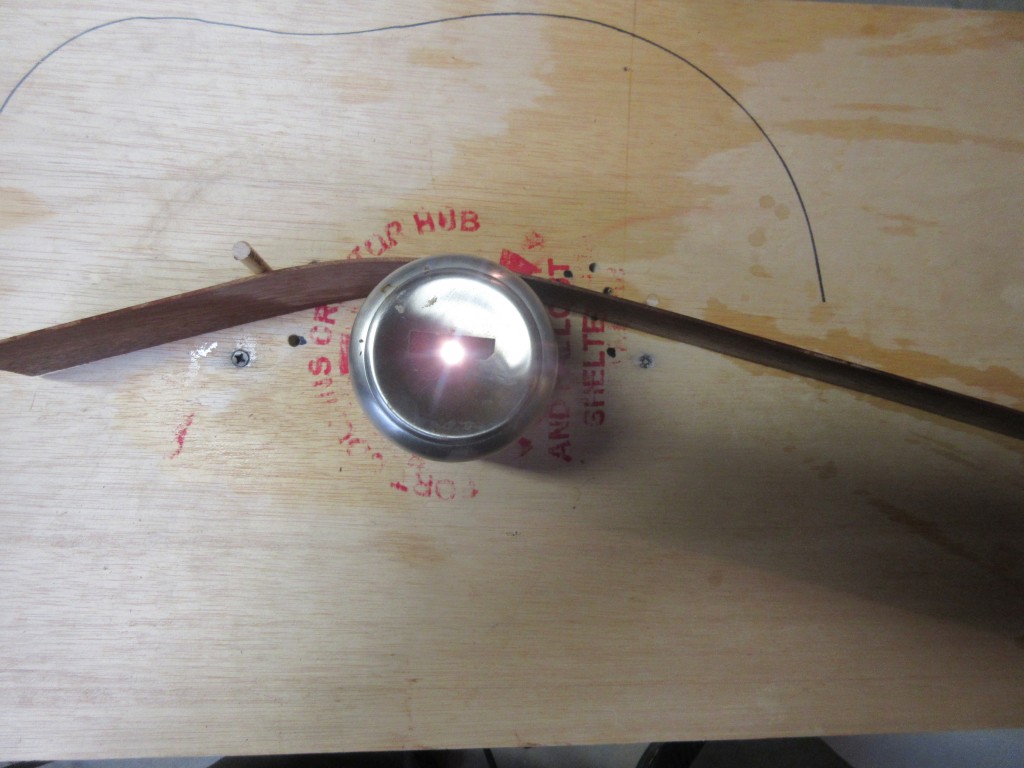
Final bending process
The bending jig is used to make corrections to the stave shapes. It can also be used in pre-bending of the wood before placing it into the Shape Press Form. The bending jig is made from a stainless steel drinking cup that is heated from the inside by a 100 watt incandescent light bulb. The wood is first sprayed with water before bending on the jig. The heat from the light bulb in enough to create steam heat at the surface of the wood.
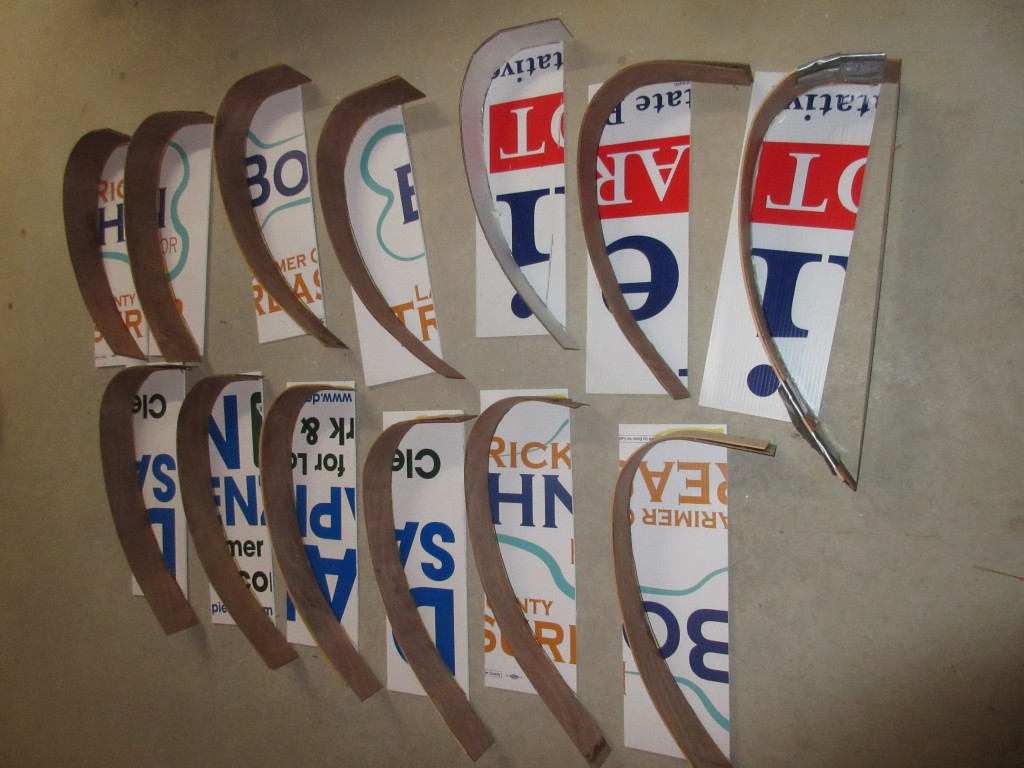
The Staves are prepared for cutting
I saw on some oud making videos online that the staves are first cut into the proper (flat) shape and then bent into the final shape. My experience from 40 years ago told me to first make the curves and then cut the final shape on a band saw. I had a band saw 40 years ago, so that’s probably why it did it this way. In order to establish a proper cut in this manner, each raw stave would have to be attached to a rectangular piece of stiff material so it could back up against the band saw gate the same way each time. I found that a good stiff material scrap for this purpose is left over political yard signs. Yes, that’s correct! I have used political yard sign wire here for my bass banjo, but now I have found a way to recycle USED POLITICAL YARD SIGNS!
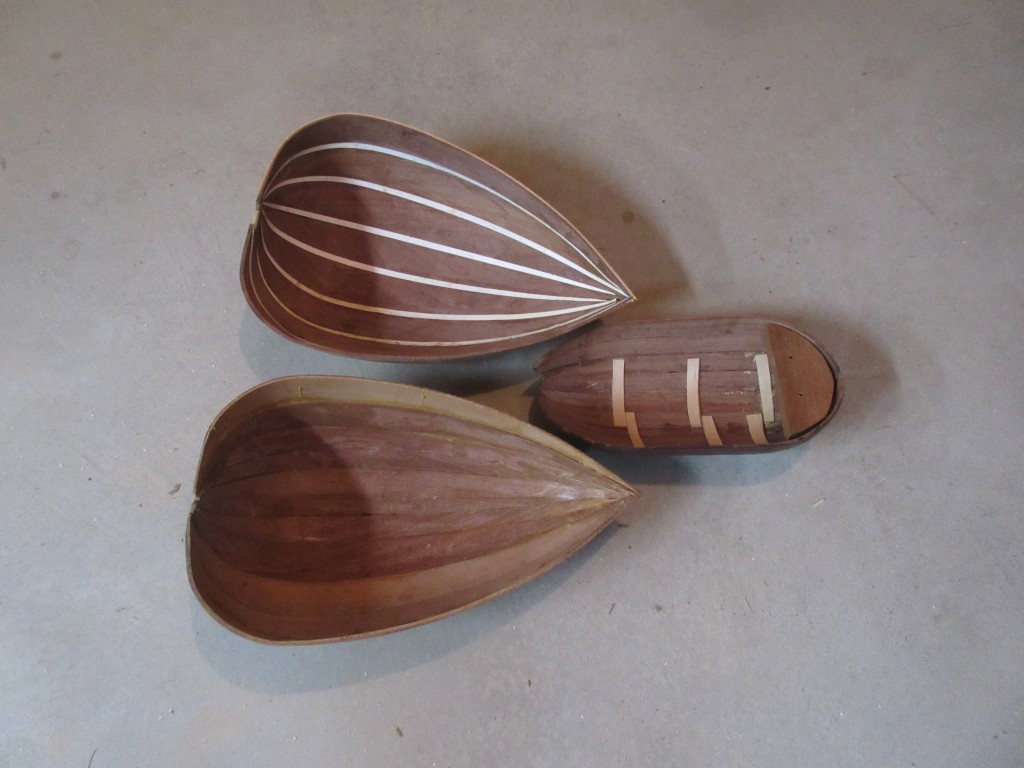
Inside the finished shells
Somewhere I have pictures of the staves being cut. I can’t seem to find them right now. Anyhow, after the staves are cut, the pieces are matched and glued together.
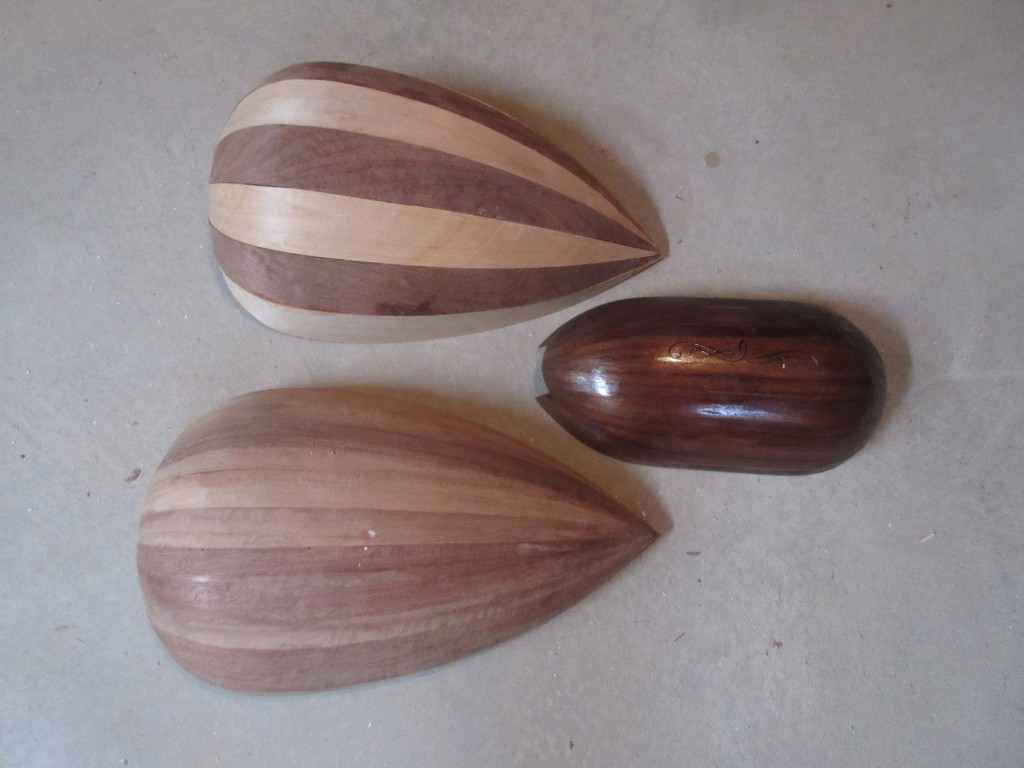
Outside the finished shells
OK, maybe not entirely finished. The smaller one was a ‘test subject’ that might still be used for something. Note the larger one at the top used an alternating wood pattern that looks pretty cool.
