Archive for the ‘Technology’ Category

Boaty McBoatface

Wednesday, May 25th, 2016

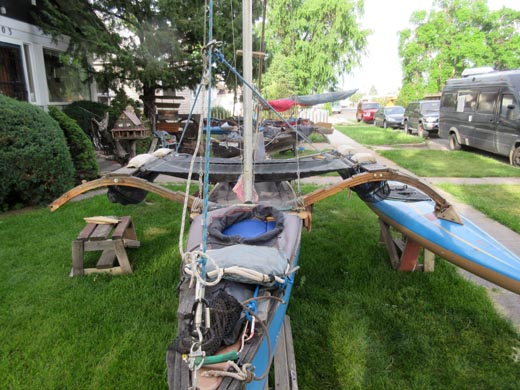
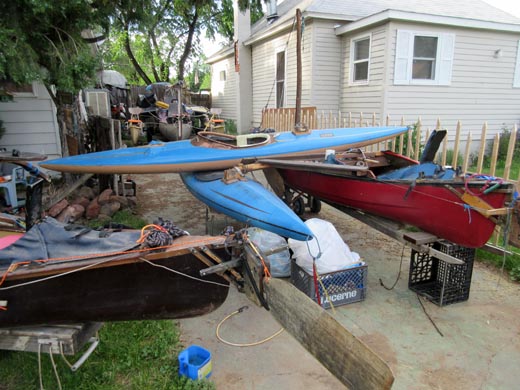
Boats in the town of Ault:

Frank’s Place (More on that later)

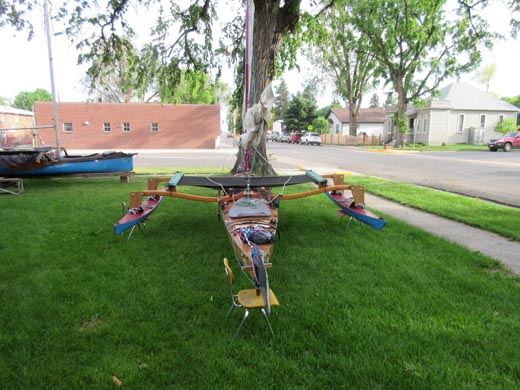
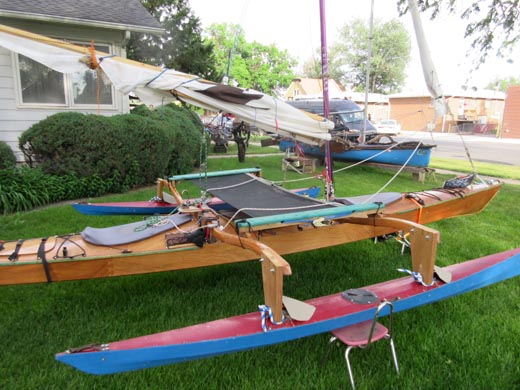
I like the creative use of kiddie chairs and milk crates to help hold up the outriggers on these boats. Perhaps we’ll take a cruise someday? Anyhow, Ault, a town East of Fort Collins used to be called High Land, then Burgdorff Siding and finally Ault; named after Alex Ault of Fort Collins who saved the town from a financial disaster back in 1897. With a population about one-tenth that of Fort Collins, it’s actually at a higher elevation; maybe even a mile high at “Top O’ The Hill” although I can’t seem to confirm that.

Plas Newydd – Our Soon To Be New Maker Space

Tuesday, May 10th, 2016

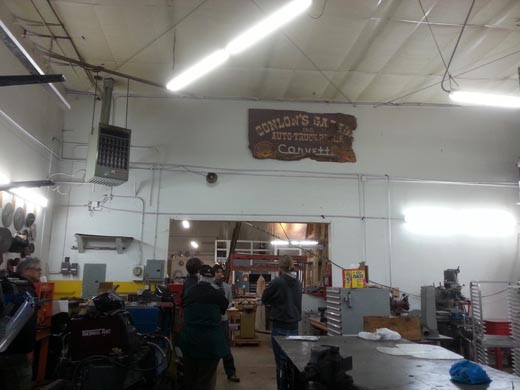
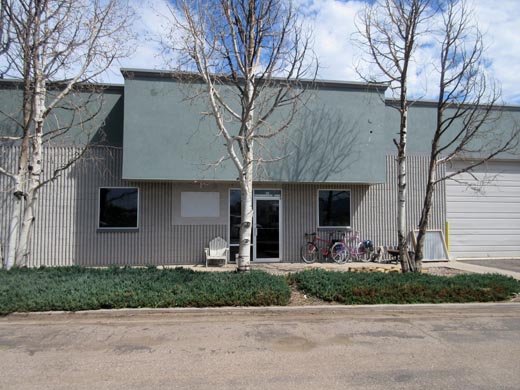
Well new to us, but not to be confused with the Plas Newydd in Llanfairpwllgwyngyll, UK or Plas Newydd in Liangollen, UK, this place is in what is considered the Enterprise Zone East of Fort Collins, a place for industry:

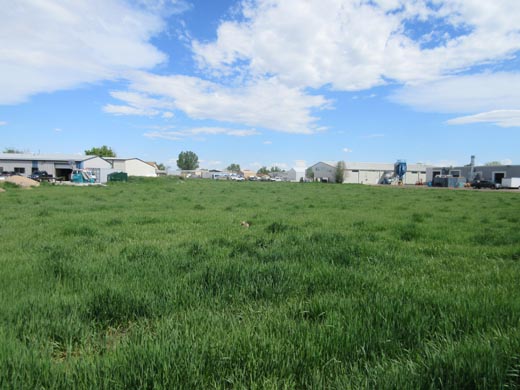
Looking  East from the building are some businesses separated by some tall grass, with a shared space by Todd Heath’s Moonmen Bikes and some company that make whiskey stills (I guess?). Further East of this the the little Fort Collins airport.

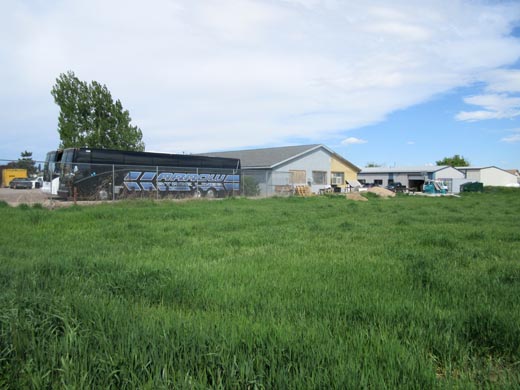
Looking North, more green grass and what might be the maintenance building for Arrow Stage Lines bus company.

Looking Southwest you can see the mountains because there are a few acres of prairie dog cities between here and a few homes along 9th Street (Lemay Ave).

Looking West, just more open space with some homes along 10th street. If you visit via bike, you can take Buckingham street East from New Belgium across 10th street and take the dirt patch directly to us.

Inside the space, looking South

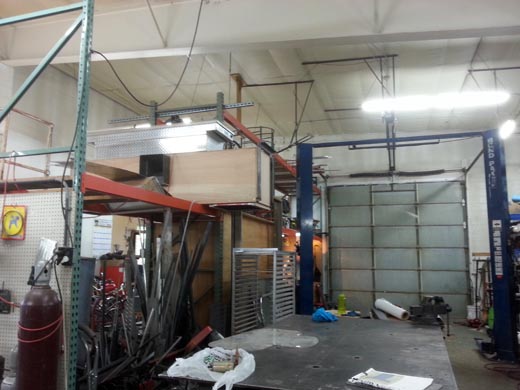
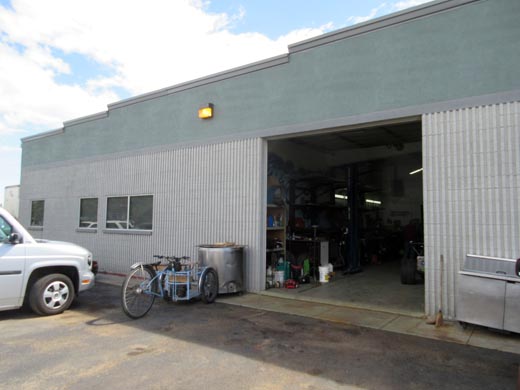
Inside, Looking North. Note the large door

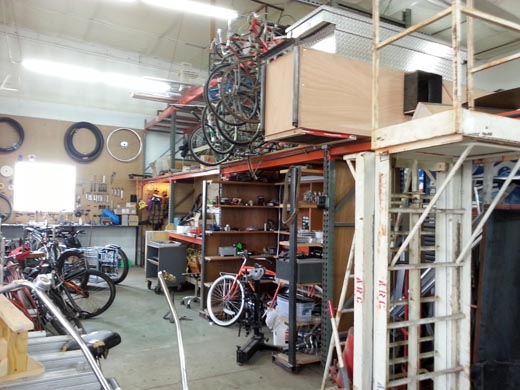
The area looking SouthWest

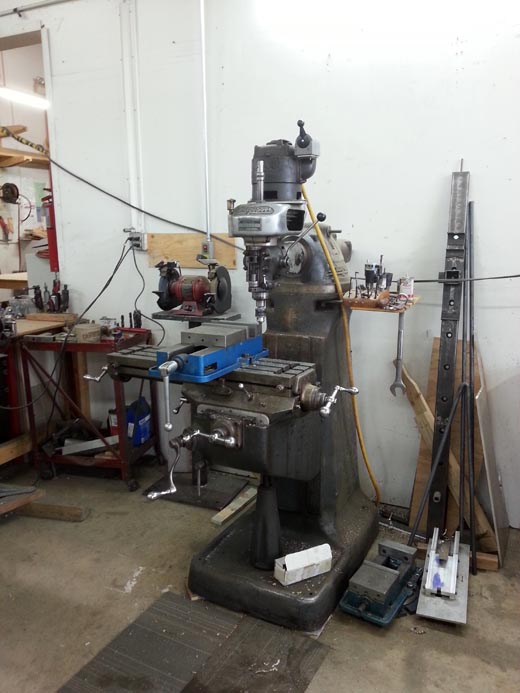
A milling machine (do we get that?)

Outside of building, the West side

Outside of building, the North side

420 ! ? #

Wednesday, April 20th, 2016

Remember last September when we went to Chimney Rock ? No? Well click HERE if you forgot.

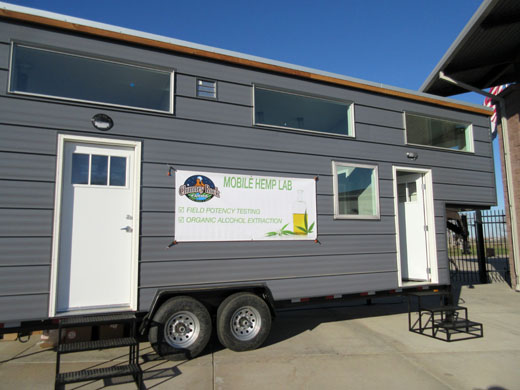
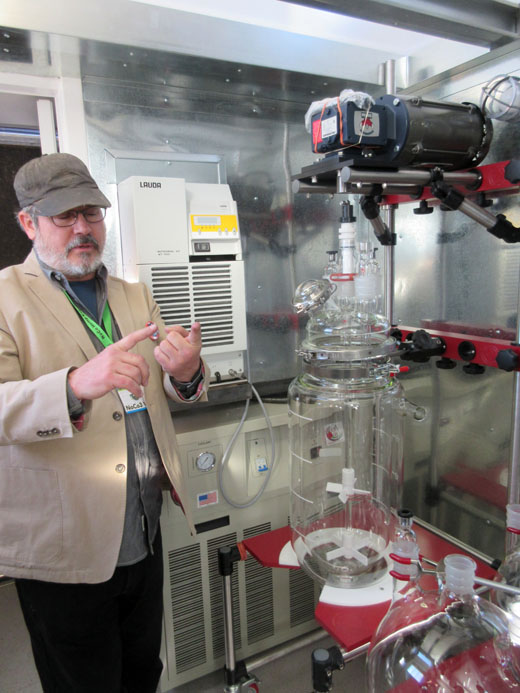
Chimney Rock Farms has a Mobile Hemp Lab!

It’s a chemical extraction laboratory! Basically you can take this to hemp farms within Colorado Washington state to provide an extraction service on the spot. You can just pack up and go to the next farm and do it all over again. It even has a bunk and portable toilet so you can save on hotel bills.

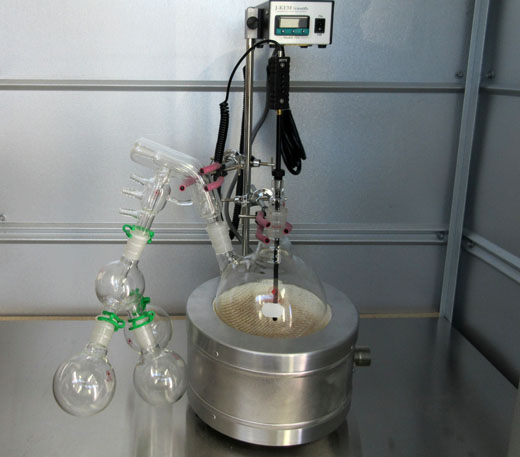
Basic ethanol extractor

Remember back when I sold some of my extractors on E-Bay? There’s an old post from May, 2008 about selling my micro Soxhlet. Oh, HERE it is!

Here, this guy explains it

“How can farmers profit in the new Hemp Nutraceutical value chain if they are locked into the commodity side of the business?” Huh? What? Oh, look! 22 Liter flasks!

Music workshops!

Thursday, March 24th, 2016

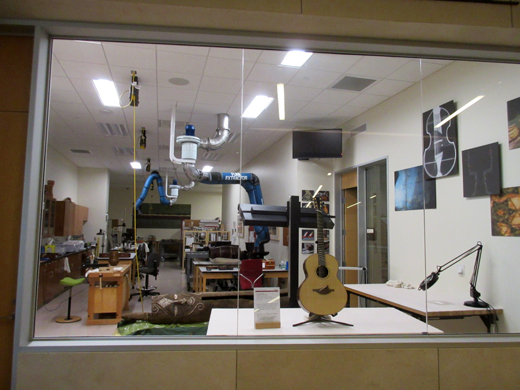
Here at the MIM, a place to restore:

A really nice maker space

This workshop is used to restore musical instruments; it looks so clean and new. Not sure if they have an actual X-Ray machine to see inside some of the instruments or would they just rush the instrument to the Mayo Clinic just down the road?

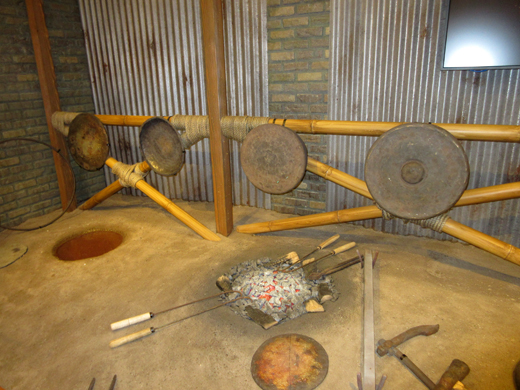
Gong Making done dirt cheap

OK, not quite my basement, but close. A gong is probably just as hard or harder to make than a steel band drum. If you can get an alloy of about 80% copper and 20% tin, make a bronze pancake out of it, then shape/tune, repeat. Then you will have it.

PCB via Vinyl cutter

Thursday, March 10th, 2016

Since we have a vinyl cutter at the Fort Collins Creator Hub and we all love electronic circuits of some sort (right?), why not try our hand at making a printed circuit on this cutting machine! It’s worth a try:
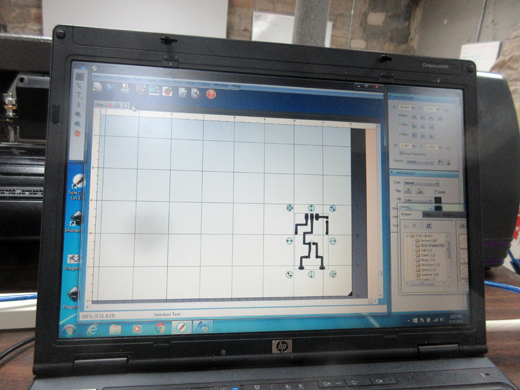
Simple is good

Here we have a very simple circuit. I used the free Eagle CAD software to make this particular one but I really could have easily made this one using MS-Paint. I won’t go into this part of the process… what we are really trying to do is see if we could actually make a PCB with a vinyl cutter – Because WE HAVE A VINYL CUTTER! The picture above shows the screen from the program called “Sure Cuts-A-Lot”. The PCB artwork was originally a “.PNG” file that was loaded into the Cuts-A-Lot program  using the “Trace Image” feature of the program.
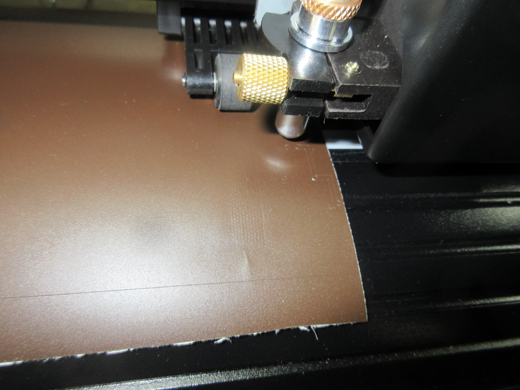
Cutting the image in vinyl

For this project, we are going to see how well the vinyl material works as an acid resist when its attached to a copper clad phenolic board.The vinyl should act as a mask while it is stuck to the copper. What we don’t know at this point is how well the glue on the vinyl will hold up to the acid etch. If the vinyl lifts up from the copper during the etching process, the circuit is ruined.
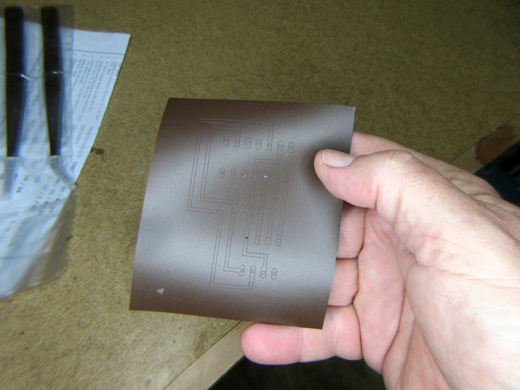
A sample trace pattern cut on vinyl

The above picture shows a different circuit that was also used for testing. It this vinyl piece, the PCB holes are also cut into the pattern. The holes in the pattern seemed like a good idea, but they proved to be rather difficult to remove during the “weeding” process. Yes, weeding out those tiny pieces of vinyl is not worth the trouble; I’ll just figure out where the holes will go later.
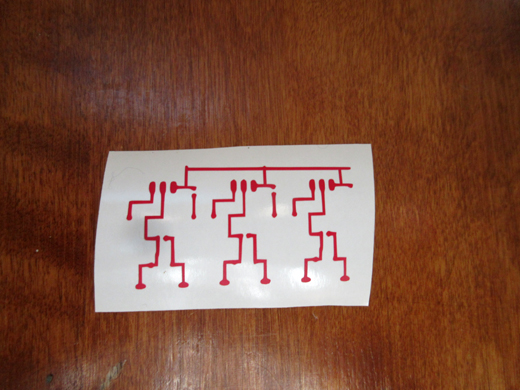
The vinyl after weeding

This is the vinyl “mask” that will adhere to the copper and act as an acid resist. Weeding out the larger pieces of vinyl while keeping the thin trace lines intact is not easy to do; I am not sure that I would want to try this using a more complicated circuit.
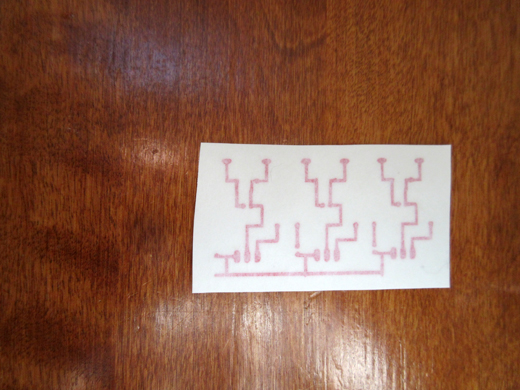
Tape applied to the vinyl circuit

The vinyl cutting / pasting process requires a method for removing the image from the backing material before it can be applied to the substrate. Some care must be used when removing the tape; you want to make sure all of the vinyl traces adhere to the tape as you peel it off.
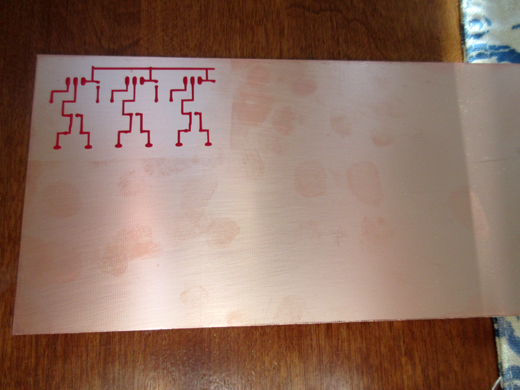
The transfer to the copper

As it happens I have some sheets of copper clad PCB sheets ready for etching! Before the transfer, I removed the surface oxides with some fine steel wool and then I gave the board a final cleaning in an acetone bath. The fingerprints you see on the copper in the above picture came after the vinyl mask was applied. Those prints will be removed later.
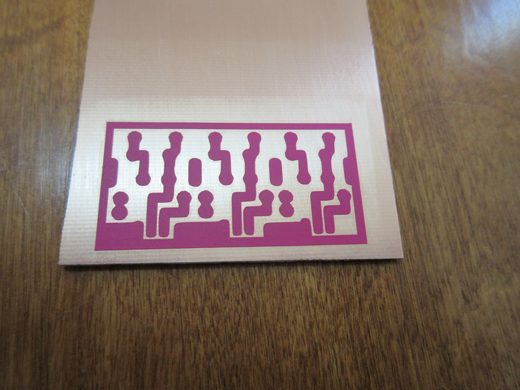
Maybe a better design?

I made another circuit with a thicker trace pattern. The above picture shows the new pattern applied to the copper. The thicker traces and the larger outline should reduce the amount of copper removed during the etch (and reduce the etching time as well).

Hold the presses! Let’s try another approach!
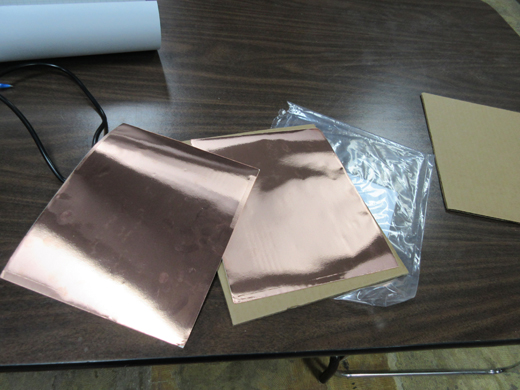
Hey, why not cut copper, not vinyl

So my friend Lou suggested using some paper backed adhesive copper sheets to see how this would work. Instead of using a vinyl mask and dangerous chemicals to etch away copper, why not cut the copper and apply it to a substrate! Would the vinyl cutter work on this? Let’s give it a try!
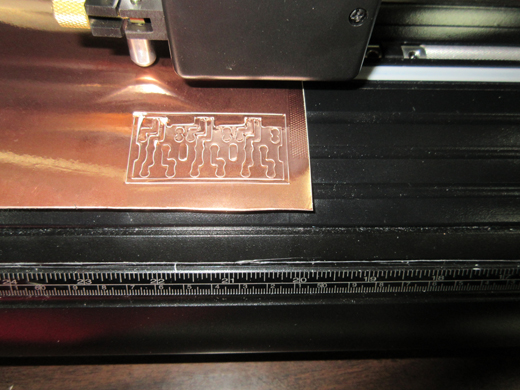
First copper cut on this vinyl cutter

Using the “fat trace” pattern, the above picture shows the result of the cut. It’s not bad, but there appears to be some curling and lifting of the copper. Some adjustment will be needed to fix this problem. If I slow down the knife blade and greatly reduce the cutting depth I will get better results:
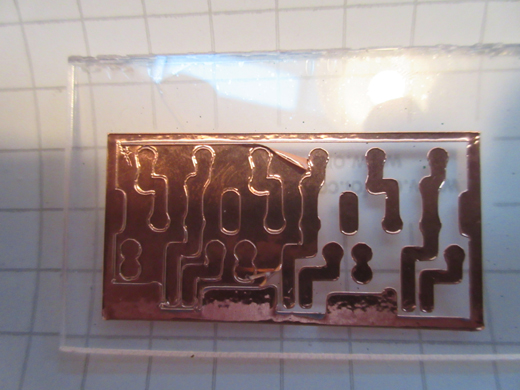
Weeding the copper while on the substrate

This is a bit of a welcome change compared to vinyl processing. Instead of weeding out copper on its adhesive backing, I simply removed the entire backing material from the copper foil and stuck in onto a substrate. In this case the substrate was a piece of clear plastic that I normally use for my intaglio printing project. The copper is then weeded out on the substrate; you get a home-made printed circuit without all the chemical mess!
The holes, the holes!

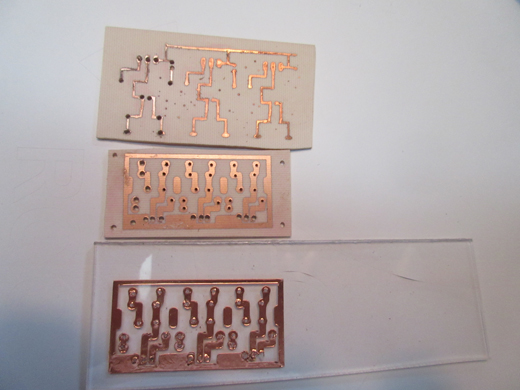
Some more manual steps are involved with all these circuits.  The above picture shows three completed PCB’s. The top one is the acid etched thin line pattern. Drilling the holes in this one is possible, but not very easy. The fat traced pattern in the middle was easier for drilling holes and the acid etch process was faster.  The bottom PCB was much easier to make and required no messy chemicals. My choice of substrate could have been better; while drilling the holes, the plastic material gummed up and pushed up some of the copper!

Next steps:

I will put components on these patterns and see if they work. I may make more of the acid etch boards because I have the materials, but I really like the adhesive copper foil approach better; It’s easier, faster, and it can be applied to a number of substrates. I just have to get better at drilling holes!
DIY Silk Screen Printing with a Vinyl Cutter

Tuesday, February 23rd, 2016

One of our newer pieces of equipment at the Fort Collins Creator Hub is a Vinyl Cutter. It’s like a big computer controlled plotter except instead using a pen to draw a picture there is a sharp knife blade that can cut paper or vinyl designs. Mostly these cutters are used for making signs directly from the vinyl material but in this case I’m using a vinyl cut design as a stencil for a DIY silk screen project.

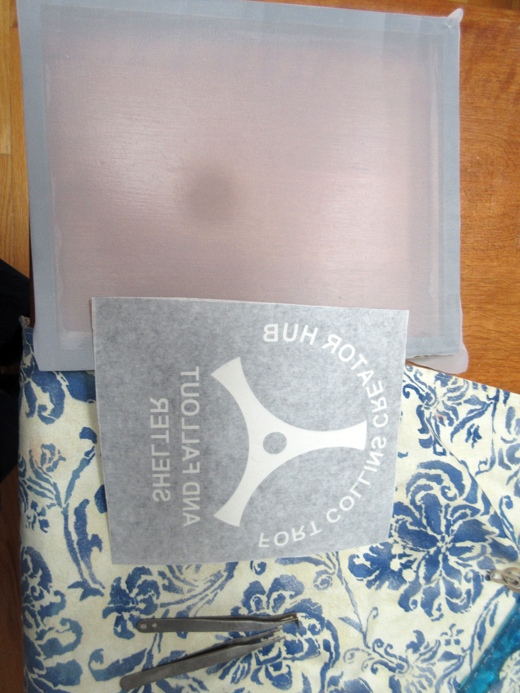
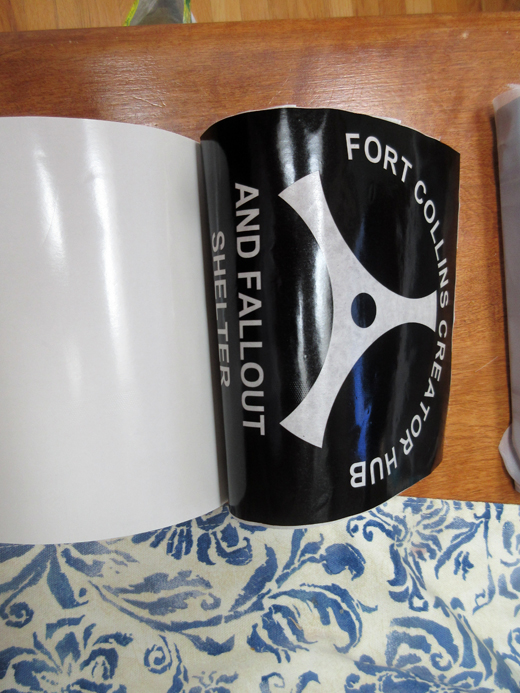
Screen and weeded design

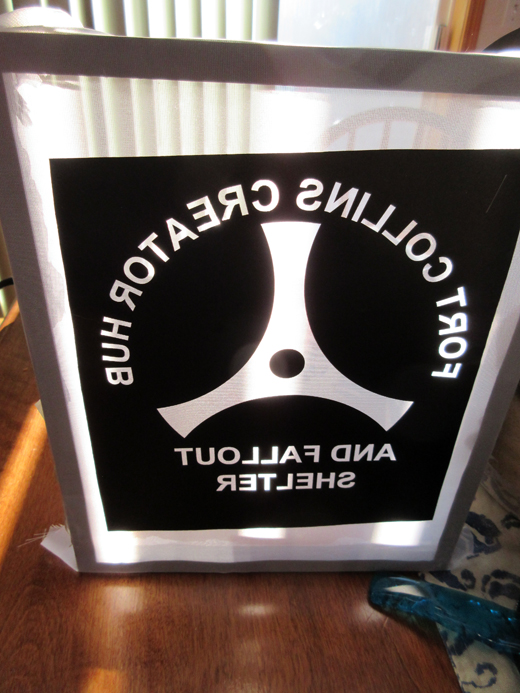
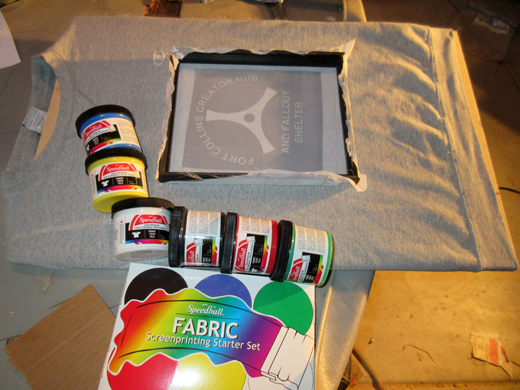
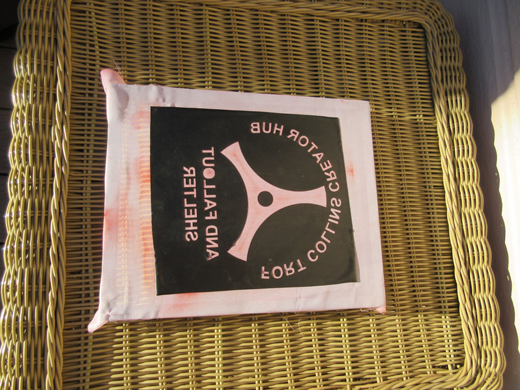
I made a small 9×7 inch screen from an old picture frame and some sheer curtain material that I purchased from the local Goodwill store. Total cost was $2.37 with senior discount. The design as shown was cut as a mirror image because the stencil is going to be attached to the outside of the screen or the part of the screen that will be in contact with the fabric. The vinyl was weeded out (i.e., the sections of vinyl that the ink would pass through was carefully removed) and the minor adhesive backing was applied.

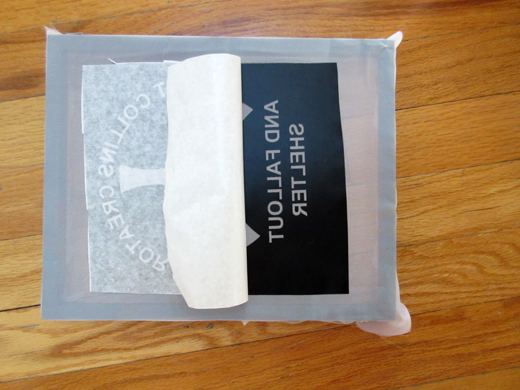
The vinyl lift

Here the vinyl is pulled from the backing material so that the fresh (or tacky) side of the vinyl is exposed. At this point it is ready to be set onto the stretched silkscreen.

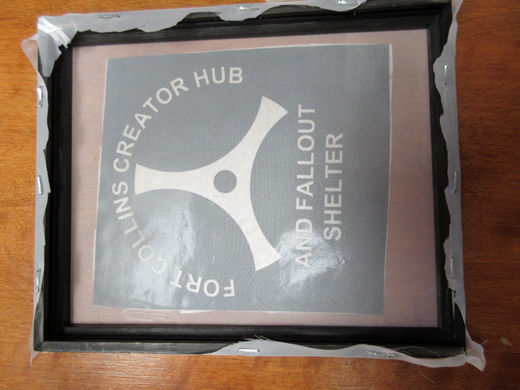
The stencil is now attached to the screen

With the picture frame face down on a clean table, make sure all parts of the vinyl adheres to the silk by rubbing your fingers over the silk with slight pressure. Be sure to concentrate on the smaller non-connected pieces in the letters like O, A, and R.

Remove the tape material

Wait, didn’t we do that?Well no. When the original vinyl material was cut, it consisted of a vinyl sheet and backing material. Another sticky sheet (the “tape”) was applied to the top of the vinyl, and then the original backing material was removed. Now the tape is peeled off after the vinyl is attached to the screen.

So far, so good.

Actually it’s not that simple. Cutting the vinyl is the easy part. Weeded out the vinyl can be time consuming while removing the backing and the tape can be a real pain in the ass. If the pieces of vinyl that you want to “keep” are small, they won’t adhere very well to either the backing or the tape or the “substrate” which in this case is the silkscreen. It’s best to relax and take your time pulling the tape or backing off real slowly when you come to one of those A’s or O’s or R’s I told you about. Don’t forget B’s,  P’s and Q’s if you got ’em.

We’re in luck. We have some fabric ink!
The folks at Speedball sold me this nice “Fabric Screenprinting Starter Set”. It’s water based ink so this might not be so bad as far as clean up is concerned. Just a little warm water should do it, right? Looks like I have some red, white, yellow, blue, green and black.

Some basic alignment might help

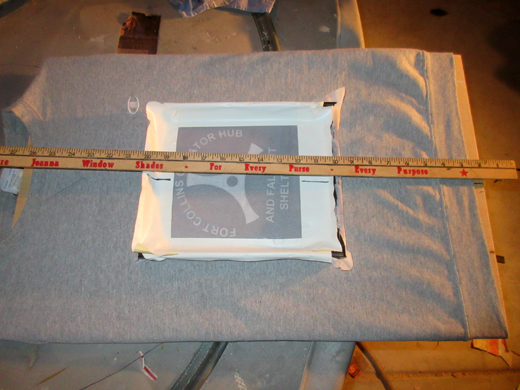
I have some white masking tape to mask out the open screen parts that I don’t want ink to come through to the fabric. The vinyl is not square with the frame so I marked some lines on the tape to make it easy to set the screen in the correct position on the fabric. In this case, the fabric is going to be some really cheap shirts I bought from guess where. They were stretched out on a plywood surface and I used a piece of cardboard for a squeegee to smear the ink on the screen. Gonna use red ink…

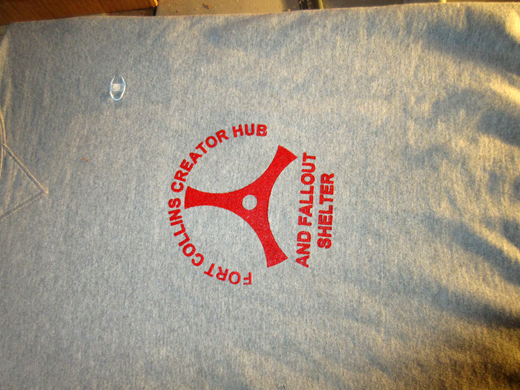
First one! Hey, it worked!

Some other shirts were used in horrendous experiments that were too awful to show, but I think I got it, so maybe some screen printed shirts in the future? Maybe?

After the wash

Well, not perfect. Just a little dipping in a bucket of water to get the red out. The adhesive started to lift away from the screen! See that the O in FALLOUT is missing the hole. The ink may bleed out through the stencil but I’m going to try it again just to see how it comes out. Maybe next week if there’s time.

Poudre Library Stuff

Thursday, February 4th, 2016

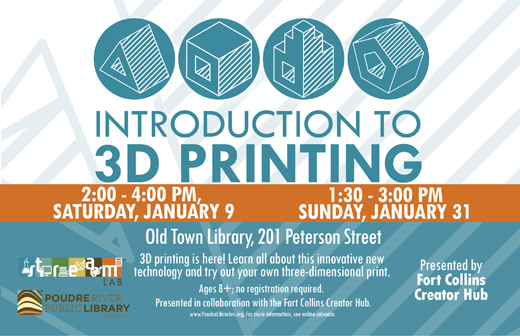
I reminded myself to load these posters from the library:

Yet Another TAD

Was some work getting this all together but I had some volunteer help at the library (high school students’ community service can cash in at the local library).

…and printing in Three Dee ! Hee Hee

There were some adults in the audience so I related my take on 3D printers from November 2013 (Look Here) where I told them what I thought George Carlin might say about these ‘toys that make toys’. Go ahead, take a look!

Time to take it apart

Sunday, December 20th, 2015

Also known as Take Apart Day

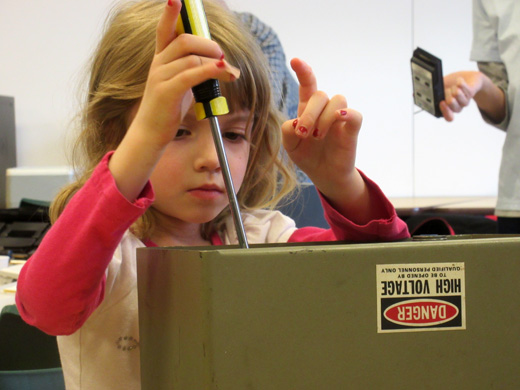
Only Qualified Personnel can open this

Seems like fun too! The above item the little girl is digging into is from a high voltage power supply for an ionization gauge control. I think I had this thing in my garage since 1985.

Poudre River main library

This is where one of the events happened. I had gathered enough junk for everyone to have an evening of take apart excitement. Jeanne liked the idea that the garage finally let go of a few items we never needed in the first place.

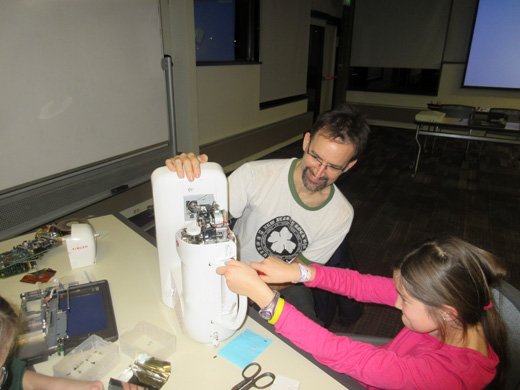
Sewing Machine

Lots of gears and motors in this thing.  The guy at the sewing machine repair store gave this one to me. It seems that some of the newer machines are not worth fixing…

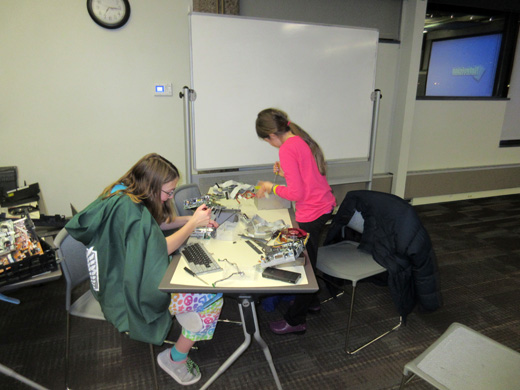
Tool Girls

I still had an old IBM PC with a 10MB hard drive in one of the bedrooms that hadn’t been turned on since 1984. Note that the participants are free to take any parts home to make whatever they want with them.

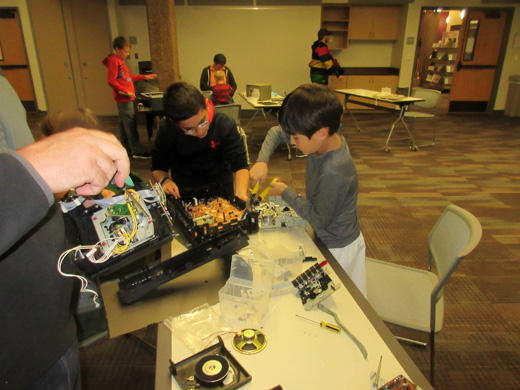
Everything is in pieces

And now what? Well, I am grateful that the local Best Buy store will freely take boxes full of electronic parts for recycling so I don’t have to worry about it. (OK, I did take a few parts home just because. Don’t tell Jeanne)

CBGSIG Part First

Monday, December 14th, 2015

Yet another Special Interest Group: CIGAR BOX GUITARS

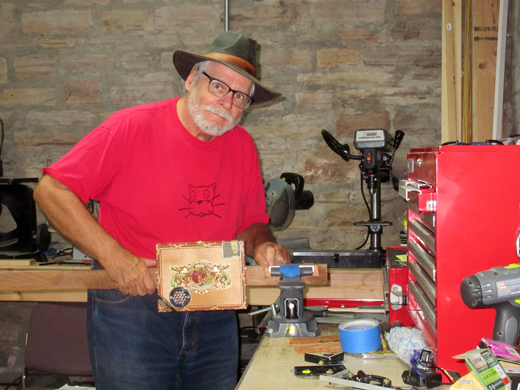
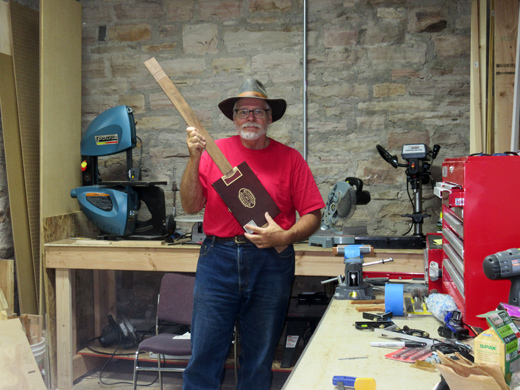
Jim says “All you need is a stick and a cigar box”

Oh, some other parts too, and a few tools would be handy


So, What is a Cigar Box Guitar?

1) They might say it’s a Primitive Chordophone with a Cigar Box resonator with the first ones made around 1870.

2) It could have one or more strings– it’s up to you.

3) Does not have to be made from a cigar box

4) There is some kind of revival going on!

2014 Annual Ride across Iowa known as the RAGBRAI

Cigar Box Links to get ya started:

Chicago CBG Festival – HERE

York PA CBG Festival – HERE

FLA CBG Festival – HERE


Floating bridge kit – HERE

Making a CBG using hardware store parts – HERE

Shamus easy method – HERE


Pianos About Town

Saturday, December 5th, 2015

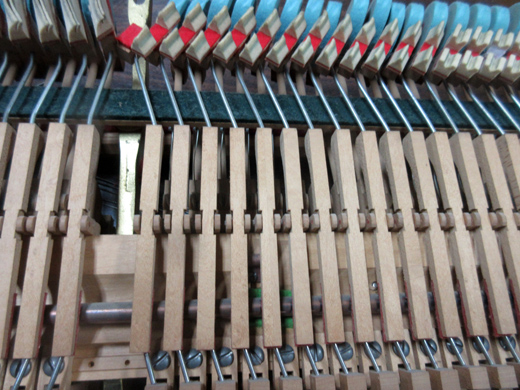
Free Piano Parts:

Old Pianos get repurposed

The Pianos About Town program is ongoing. That means after time the pianos get banged on so much that they no longer hold their tune for more than a day and a half. These old pianos are not worth fixing and since there are other donated pianos to take their place, we get to take them apart and keep the goodies… whatever that might be.

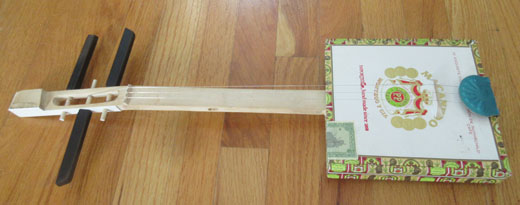
It’s a Rabab

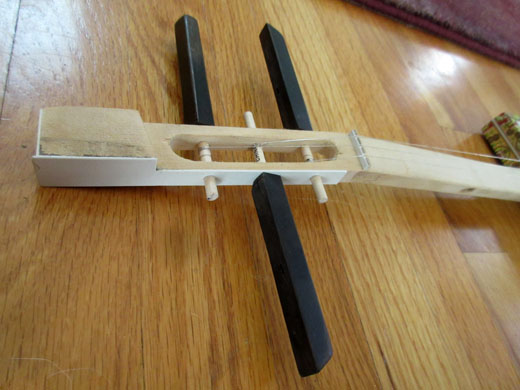
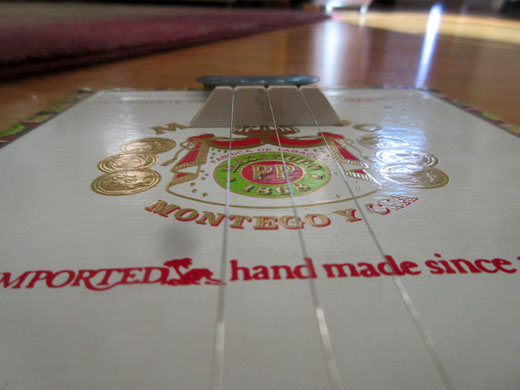
An old style Central Asian musical instrument that is usually played with a bow. In this particular example it is a cigar box rebab for demonstration purposes only.

Tuning head

The parts of the neck and head are from the white key from a piano while the tuning peg heads are from black keys. The white part of the key is plastic (I haven’t seen real ivory keys in years) and the dark wood is ebony.

Rebab bridge

In this picture, the bridge is made from another piano key. This will be replaced with a curved bridge in the future of the instrument might actually be played like a rebab.