Archive for the ‘Art’ Category

The Big Head Does it again

Saturday, October 31st, 2015

Well, it is Halloween so this is the thing…
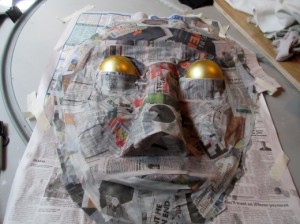
Some papier-mâché thing with golden eyes

Last year the heads were made from a large ball and were fairly spherical in shape. This year I tried to make a more natural looking face.  The first take on the face was that it looked like a Hindu god statue head of some sort.  That wasn’t the look I wanted so I had to think of something else. At first I thought that I might make a Donald Trump head (you know, a life sized replica) but where would I get the hair?
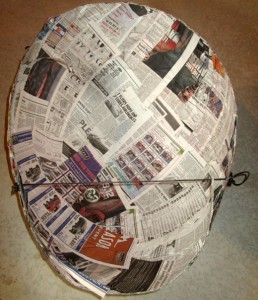
But the head is more egg-shaped instead of round

The back of the head is just one large sphere cut in half. While the paper is still moist I pulled a string through the bottom third and squeezed the form into a head shape, i.e., not spherical.
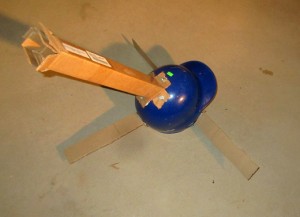
With a baseball helmet as the base

Hey, it worked last year. This method keeps the mask squarely on your head. The brace struts are made from heavy cardboard and are bolted to the baseball helmet.
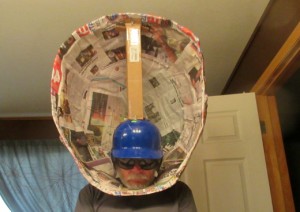
Back of the big head with a little head attached

This gives you an idea how ridiculously large this head is going to be. This is the fitting check to make sure the head hole is large enough so that the finished product can be worn without discomfort.

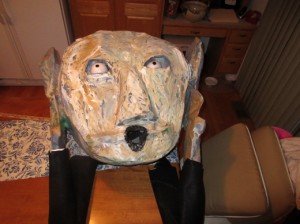
Now with arms

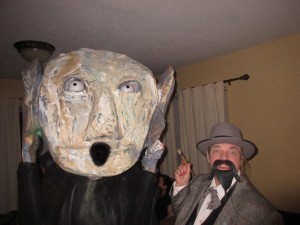
First it was going to be Donald Trump, then maybe a Hindu god. I thought that putting large ears on it would make it more Donald-like, but when I chose a dark paint at first for the skin color it started to look more Obama-like. So, changing the mouth a bit and adding some arms and hands, I now had The Scream ! Yippee! I think I’m done.

Then off to the show

Jeanne dressed as Edvard Munch and we made the rounds including the midnight organ concert at CSU. We were a big hit, The students at the Center for the Arts really liked the art based theme and the fact that it was a hand made costume.
The Corgis are Here!

Friday, September 11th, 2015

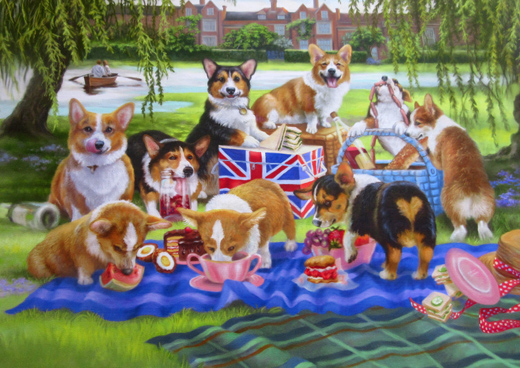
At least in this painting…

It’s called Picnic Bandits

By Karen C. who has her studio above the Creator Hub. Duncan Madog visits her often because she always (most of the time) has a treat for him.

BREAKING NEWS: All the corgis in the area will come on down to Library Park in Fort Collins this October 3rd for the First Annual “Tour de Corgi”. Wait for it!

Swetsville Zoo Backlot part 2

Monday, August 10th, 2015

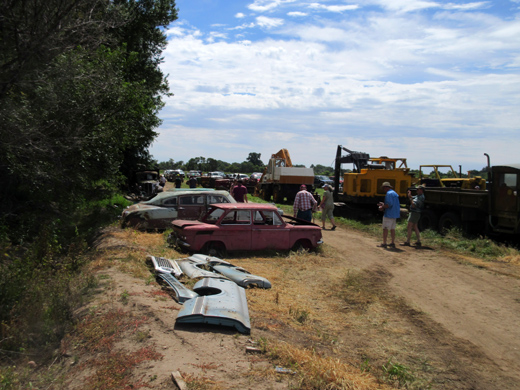
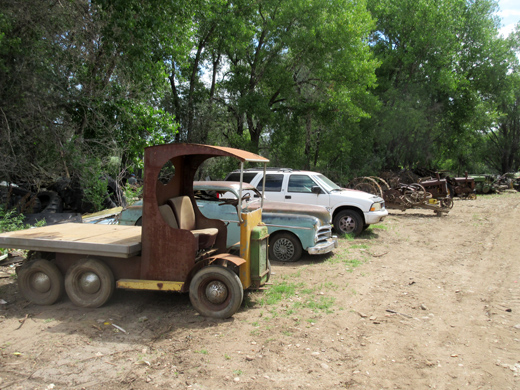
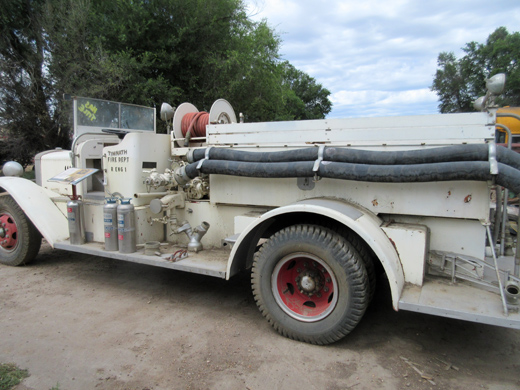
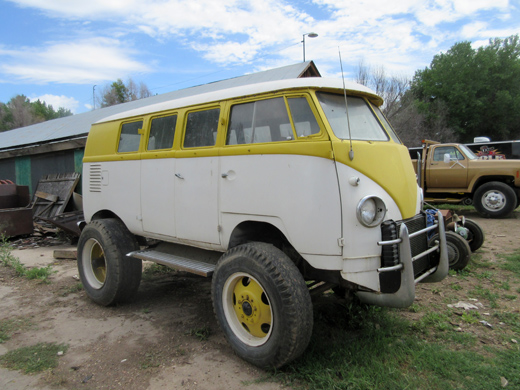
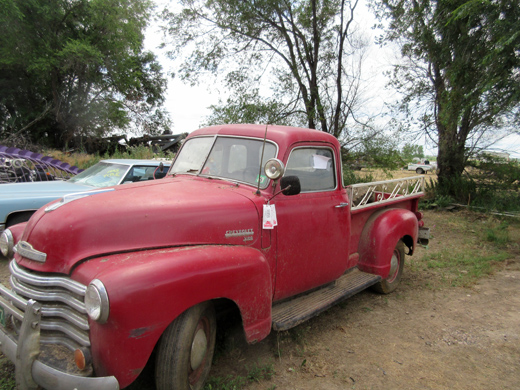
… A continuation from PART ONE, here, we have some cars and trucks:

None of these were from the showroom in the “back” of the zoo; those are still intact. But the huge boat near the fairy castle is gone! It could have floated away during the last flood of the Poudre River. Who knows?

Shark, Weak

Wednesday, July 29th, 2015

Shark week, or month was…

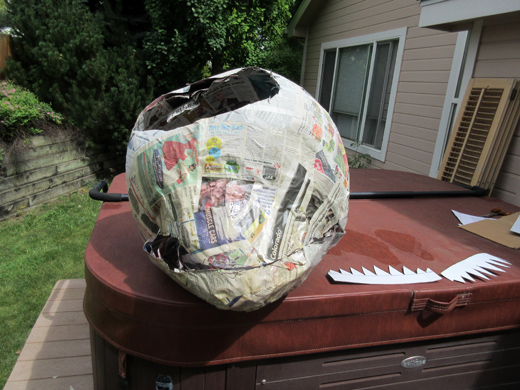
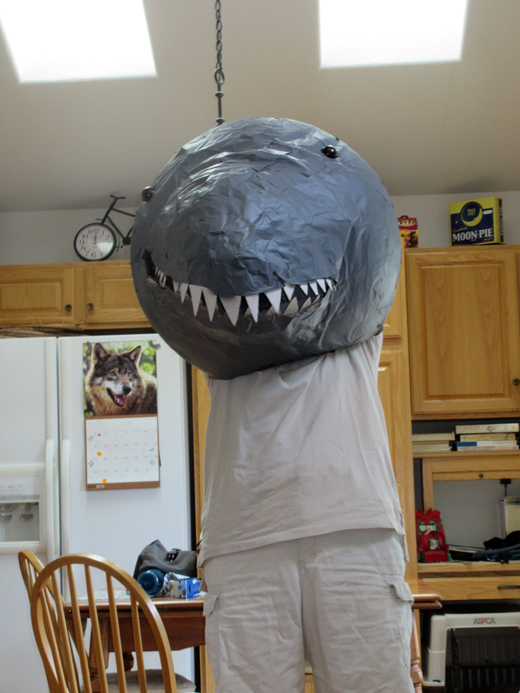
Time to utilize one of my test heads from last Halloween

It was a a sphere made of paper, an experiment really. I still had it in the basement so I made some mods to it. Tried to make a shark head, I guess.

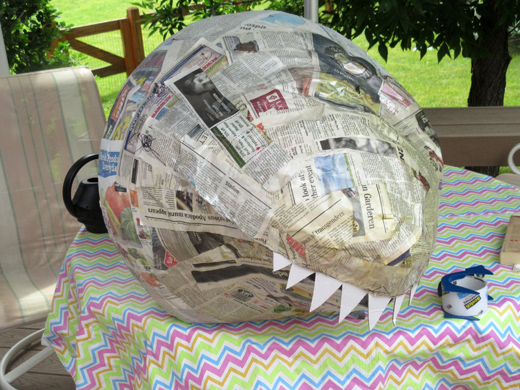
Teeth make the difference

Although it could be a dinosaur rather than a shark. Maybe it’s a dual purpose head…

Yes, weird it is.

But good enough for the screening of Sharknado 3: Oh hell no! Will I keep it? Who can tell?

Intaglio!

Wednesday, April 29th, 2015

As in printmaking, the first step is to obtain an intaglio press:

Parts is parts

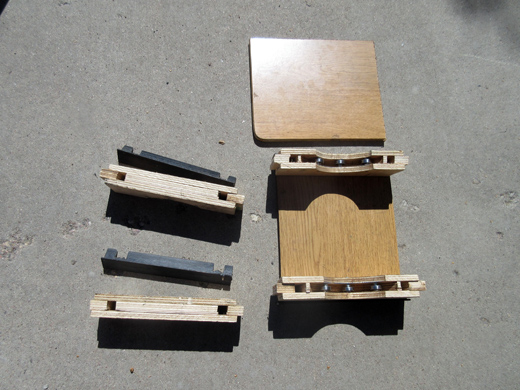
Here are some parts to a home-built intaglio press made from recycled items. The above photo shows the roller yokes (that may or may not work for this experimental design) built from the rails from a garage door opener, the tops from student’s desks, and rollerblade wheel bearings.

The Experimental Press in the driveway of dreams

Here the two cylinders (shown from last years post here) are pressed by the roller yokes with the help of four threaded steel rods (I found for a real good price from the Habitat re-store in town). Hey! Almost done.

Art Projects?

Thursday, March 5th, 2015

At the Carnegie:

A Swarm

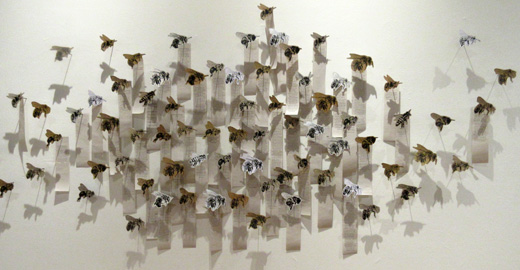
It’s a work by Laura Grossett (MFA in printmaking, CSU 2012) . Her website says it is called ‘Ascending Swarm’ but the name given to the work at the Carnegie was ‘Rising Swarm’. There are slips of paper near each bee on which is printed tales of labor exploitation submitted by community members. I can’t remember the last time I was exploited at work, but:

GEC Labor Exploitation

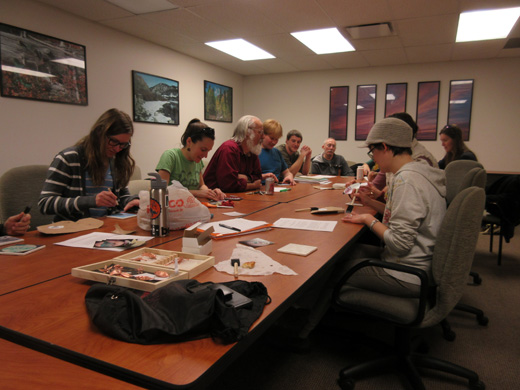
Entomology students and professors are gathered together on this day to make biologically themed art items for possible sale at the next GEC gathering. It seems people pay good money for  insect related items. Who knew?

Copper Electro-Formed things

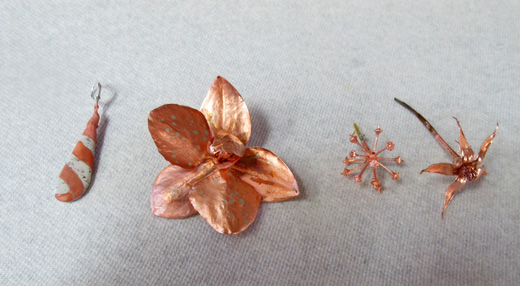
Not bugs this time but a polished stone, a flower and two dried plants. As I write this I am thinking of other things to electroplate. Look out!

Take a bug, Leave a Bug

Tuesday, January 20th, 2015

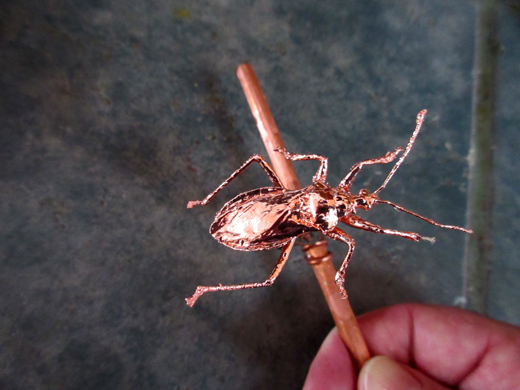
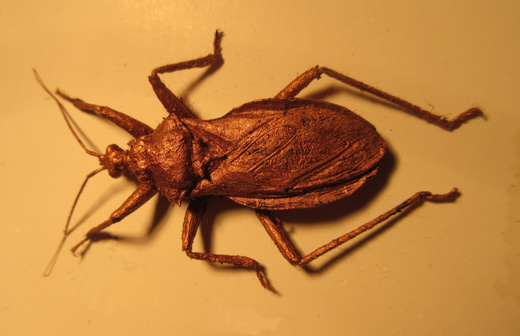
Returning to our White Eyed Assassin bug Platymeris biguttatus, we are in the final stages of the formation of a copper coated insect pin:

Bug with pin attached

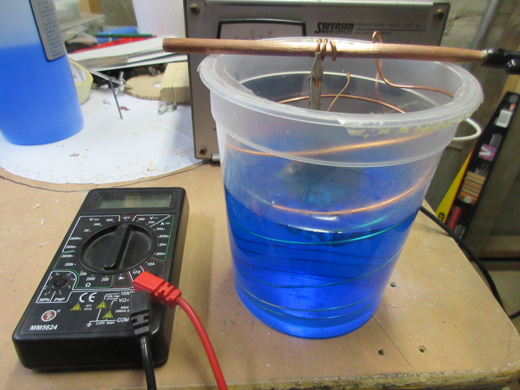
The process is called electro-forming. Think of  the electroplating technique on steroids that forms a metallic coating on a non-conductive substrate (or mandril as they say in the trade).  Above, our precious little P. biguttatus is held in place with an alligator clip immersed in a copper sulphate solution.

The copper coated mandril

The copper coating is thicker than that achieved in the normal electroplating process; The intention is to preserve the object hopefully forever like in the process used by those people who make bronze baby shoes. Yes, they still do that– lookie here for more info.

Adding some colour to the piece

Using two concentrations of  patina wash, I was able to darken the antennae and legs and give a bit of a bronze look to the wings. The patina wash that I used is something I purchased for darkening the lead came in stained glass windows called Novacan Black Patina; The solution was diluted so I could easily control the degree of darkening. The bug gets a good washing with clean water. After it is dry, a coat of clear enamel paint is applied to the surface to keep the copper from further oxidizing. Now it’s off to the CSU bug community to show it off!

But wait, there’s more!

A number of insect orders represented here plus a scorpion or two. Many thanks to CSU and the Gillette Entomology Club for their generous donations. Hmm, that Lepidopteran looks like a challenge!

Scorpio Mortuary Makeup?

Desiccated specimens are hard to handle; Legs and antennae tend to break off easily. In the above case, the right hind leg had fallen off so I made an artificial leg out of hot melt glue.

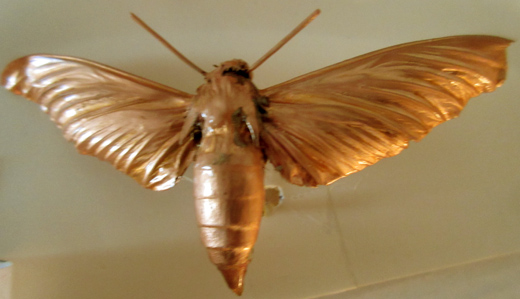
Copper Underwing?

Well Yes and No. The Copper Underwing Moth is a Noctuid, specifically Amphipyra pyramidea. This is a copper coated Sphingidae.

Katydid Pin

Sometime the antennae are coated, sometimes they break off. In this case, the antennae were replaced with some .005 inch diameter wire that I had in a junk drawer.

Some kind of flower (at one time)

Still working on the R&D side of things here. It would be great to get a ballpark figure on what the surface area of this piece was. For now, it is trial and error to set the proper current density and hope for the best. It’s gonna take time…

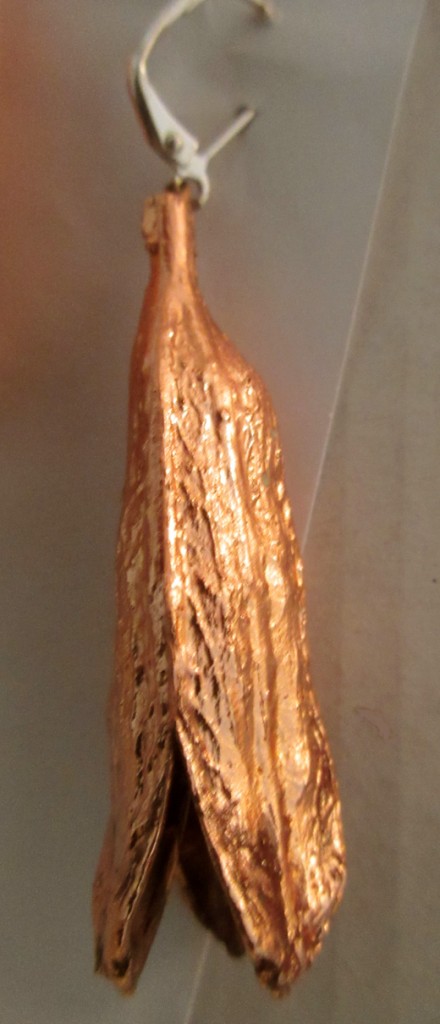
Iris Pod Earring

This was the first piece that I plated. It turned out nice enough that I thought that I should try other things. Look out!

Projects going into 2015

Monday, December 15th, 2014

That means they are not yet finished:

Press Cylinders

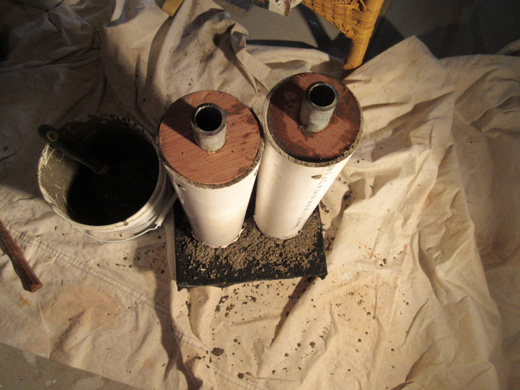
More like 4 inch diameter PVC pipes with a 1 inch steel pipe through the center (we hope) prior to filling with concrete. It’s an idea I’ve had for a while to make a printing press for intaglio plates. May or may not work…

Heavy cylinders

In this step, both cylinders are filled with concrete and allowed to harden. Some plywood end stock was fitted to each end to help set the steel pipe through the center. Whatever happens next will not  happen until next year. See you then!

And in another corner, some project involving electro-forming:

This project is about electrochemistry, copper anodes and sulfuric acid; the idea is to coat various non-conductive surfaces with metal by a process called Electro-Forming. It’s how bronzed baby shoes were made (if you remember those.)

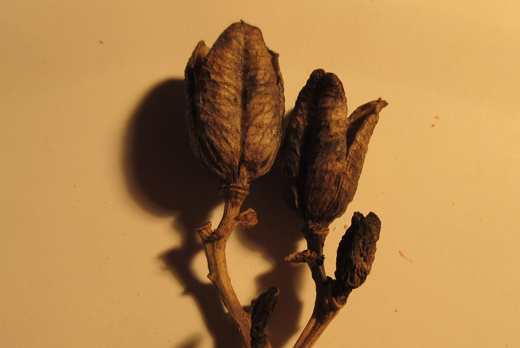
Some sort of plant pod

This is an example of a non-conductive surface that could be coated with metal. Maybe they could be made into earrings? After they are dried, the surface is coated with lacquer and, depending on a number of conditions I haven’t quite worked out yet, the surface is made conductive and then electro-plated. At this moment I have not perfected the method.

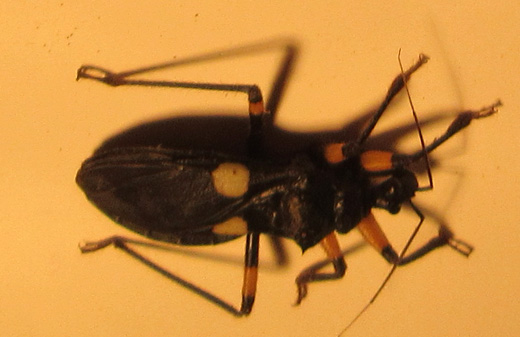
An Assassin Bug

Naturally I have a constant source of insects (dead or alive) to choose from. The coating process seems like it may require some intervals to properly get the job done with insects. The initial coating requires a freshly deceased subject such that the legs and antennae can be manipulated without breaking off.

Gold Bug

Or something like that. Sufficient time to dry out is important at this stage. I’m giving this guy at least a month to dry completely before I do the final coating.

Creator Hub break time

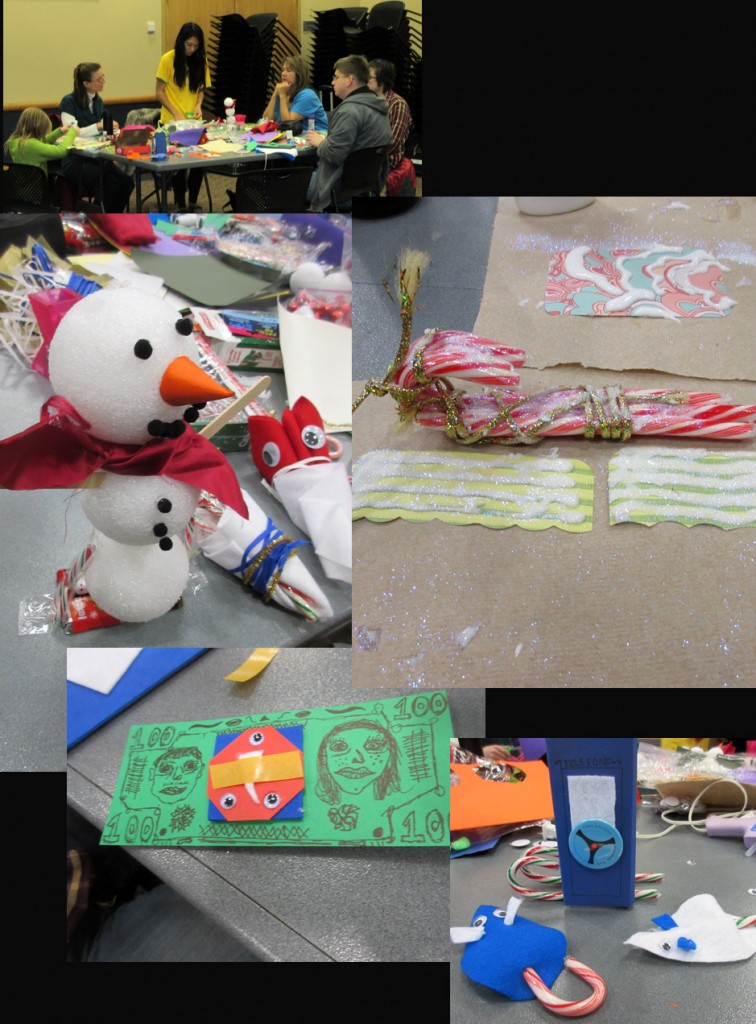
About this time there was a little diversion to make a few holiday projects with the Hub Crew at the Harmony Library. Hope to get back with more projects next year!

Day of the DEAD HEAD

Friday, October 31st, 2014

Happy Halloween!

Halloween as usual at our house

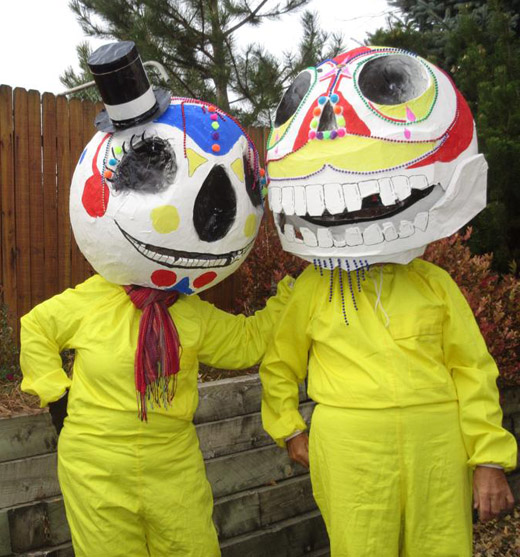
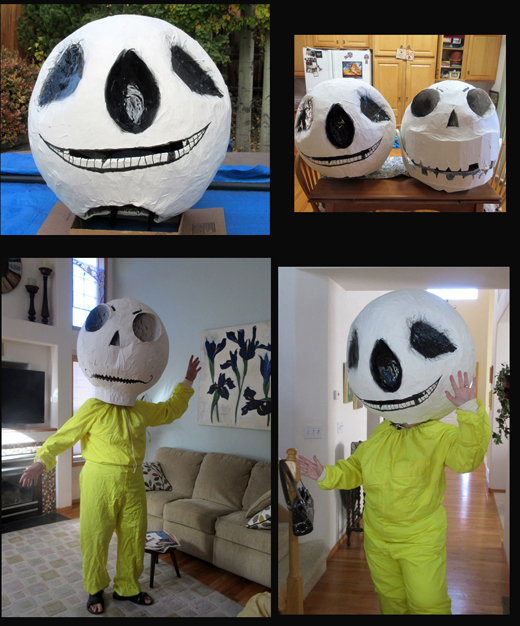
These are ‘Day of the Dead’ carnival heads. Want to know how to make them? Find out here! Go ahead, do it. It’s not that hard. And it’s cheap too.

So, what do YOU do with an exercise ball?

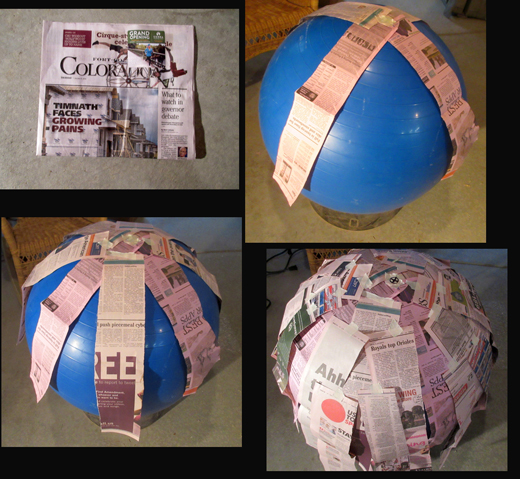
Our next door neighbors took a one month vacation and they didn’t have time to cancel their morning paper. They told us to just recycle it for them. Our local paper is usually not worth the time to read so instead of throwing the crap into the recycle bin, why not make something out of it. Like maybe a giant head made out of Papier-mâché using an exercise ball as the form? As seen in the above picture we have some paper and a large ball. If you don’t know how to make Papier-mâché, just look it up on the internet someplace.

What to do with a giant paper ball?

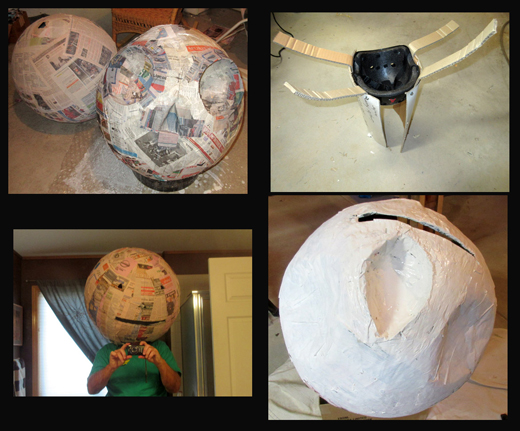
1) The big ball can be manipulated in a number of ways and other paper parts can be added to make the desired head topography. 2) If you want to wear this thing on your head, you should use some kind of device to keep it firmly seated on your head so the headpiece does not flop around. I used a skateboard helmet I bought at the Habitat resale store for $2. A helmet with a hard plastic shell works best; that way you can bolt some heavy cardboard struts to it and attach the struts to the inside of the giant ball.  3) With the helmet in place, try the head on for size. I stood in front of the bathroom mirror and poked a small hole where I thought might be the best height for an eye-hole. From there I made a sample mouth and tested to see if I could see where I was going via the mouth slit. 4) If the mouth slit works, then it’s time to paint the head. I had some left-over white interior house paint that worked quite well.

Giant Heads, Version 1.0 and maybe even version 1.1

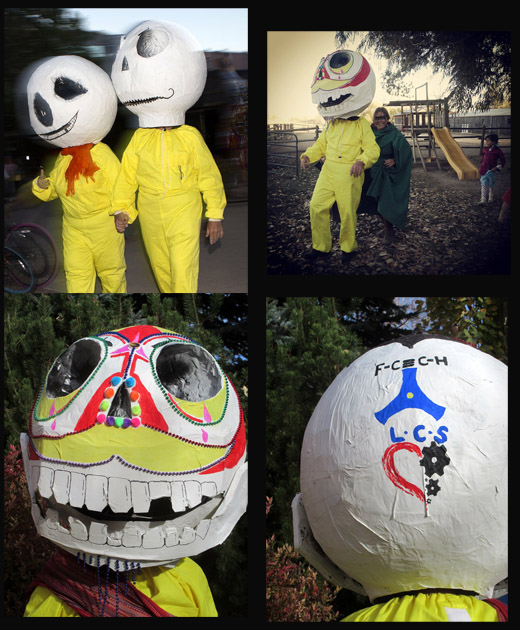
At first we thought our costumed idea might be some kind of bi-polar Jack Skellington character but we didn’t have time to work out the rest of the outfit. While looking through our vast collection of stuff we found two bright yellow contamination jumpsuits that might work. At least if we couldn’t see the cars in the street due to our obstructed vision maybe the drivers of those cars would see us?

Beta testing and advertising

1) Going out into the real world could be scary. A week before Halloween the City of Fort Collins had something called a Zombie Fest so we thought it would be a good idea to try out the version 1.0 heads while walking though Old Town. The test basically was an obstacle course of streets, curbs, stores, zombies, bushes, etc. and we learned two things from the experience: First we were a BIG HIT with the zombies (I assume they though there would be GIANT BRAINS in those heads?) and second we needed to make the mouths at least three times larger so we could see where we were going! 2) With the new and improved version 2 head I made a quick visit to the spooky family event at Laughing Buck Farm to see if I could walk around small children and barn animals– Seemed to work well! 3) The front of the face of Version 2 where we turned version 1 into a Dia De Los Muertos carnival costume.  4) On the back, some reference to my ‘homies’ at the local hacker spaces: The FCCH that looks like the structural formula for Fluoroacetylene is for the Fort Collins Creator Hub and the LCS is for the Loveland Creator Space.
ILLUTRON!

Monday, September 15th, 2014

Right! I was in Copenhagen and I had to see this for myself:

The Illutron

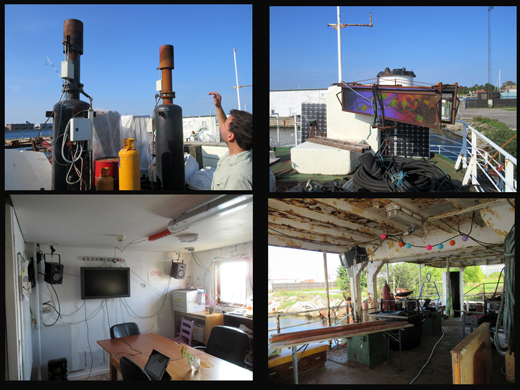
It’s a collaborative art / maker space studio on a ship. Well, OK, it is sort of an old cable laying barge, a floating hacker platform, a rusting work of watery art, but very unique. From Copenhagen Central Station take Bus 40 toward Refshaleoen then walk a bit north and ask where the hippies live out on a barge.
Very Ship Like

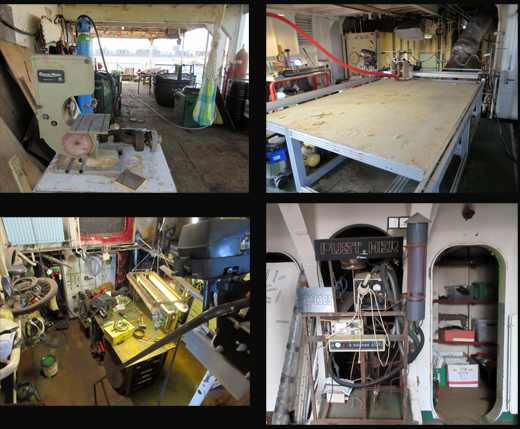
With plenty of booty just lying about; aft ye might  find woodworking tools and perhaps ye olde X-Y cutting table midships. Electronics projects be lyin in the hold.

But wait, there’s more

Above deck is a LP twin cannon that can shoot 20 foot diameter donuts of fire and an LED display for those seeking the ship at night (perhaps when the donut machine ain’t working).  Included in the more than 8000 Sq.Ft. of space one might find a conference room and a party deck.

Lots of junk, but it’s all good junk

In one corner sits an ABB industrial robot and in another some sort of left-over controller for the cable rigging (so I was told) and aft on the port side a white cylinder resembling an orgasmatron (ref: Woody Alan’s Sleeper ) . Looking out the hatch in the direction west one might see ‘Den Lille Havfrue’ i.e., The Little Mermaid statue, that is if you had a telescope or an extremely powerful telephoto lens.

Lots of things to play with…

They said that they recently moved the barge to its present location so it’s a bit messy. They also mentioned they had an art installation at Burning Man. Burning Man! Like in the Nevada Black Rock desert, US of A? Wow! These guys are good.